- Balsamic Vinaigrette
tte recipe is perfectly zesty, tart, and a touch sweet. All you need is five pantry ingredients, five minutes, and a jar! This homemade balsamic dressing is that easy!
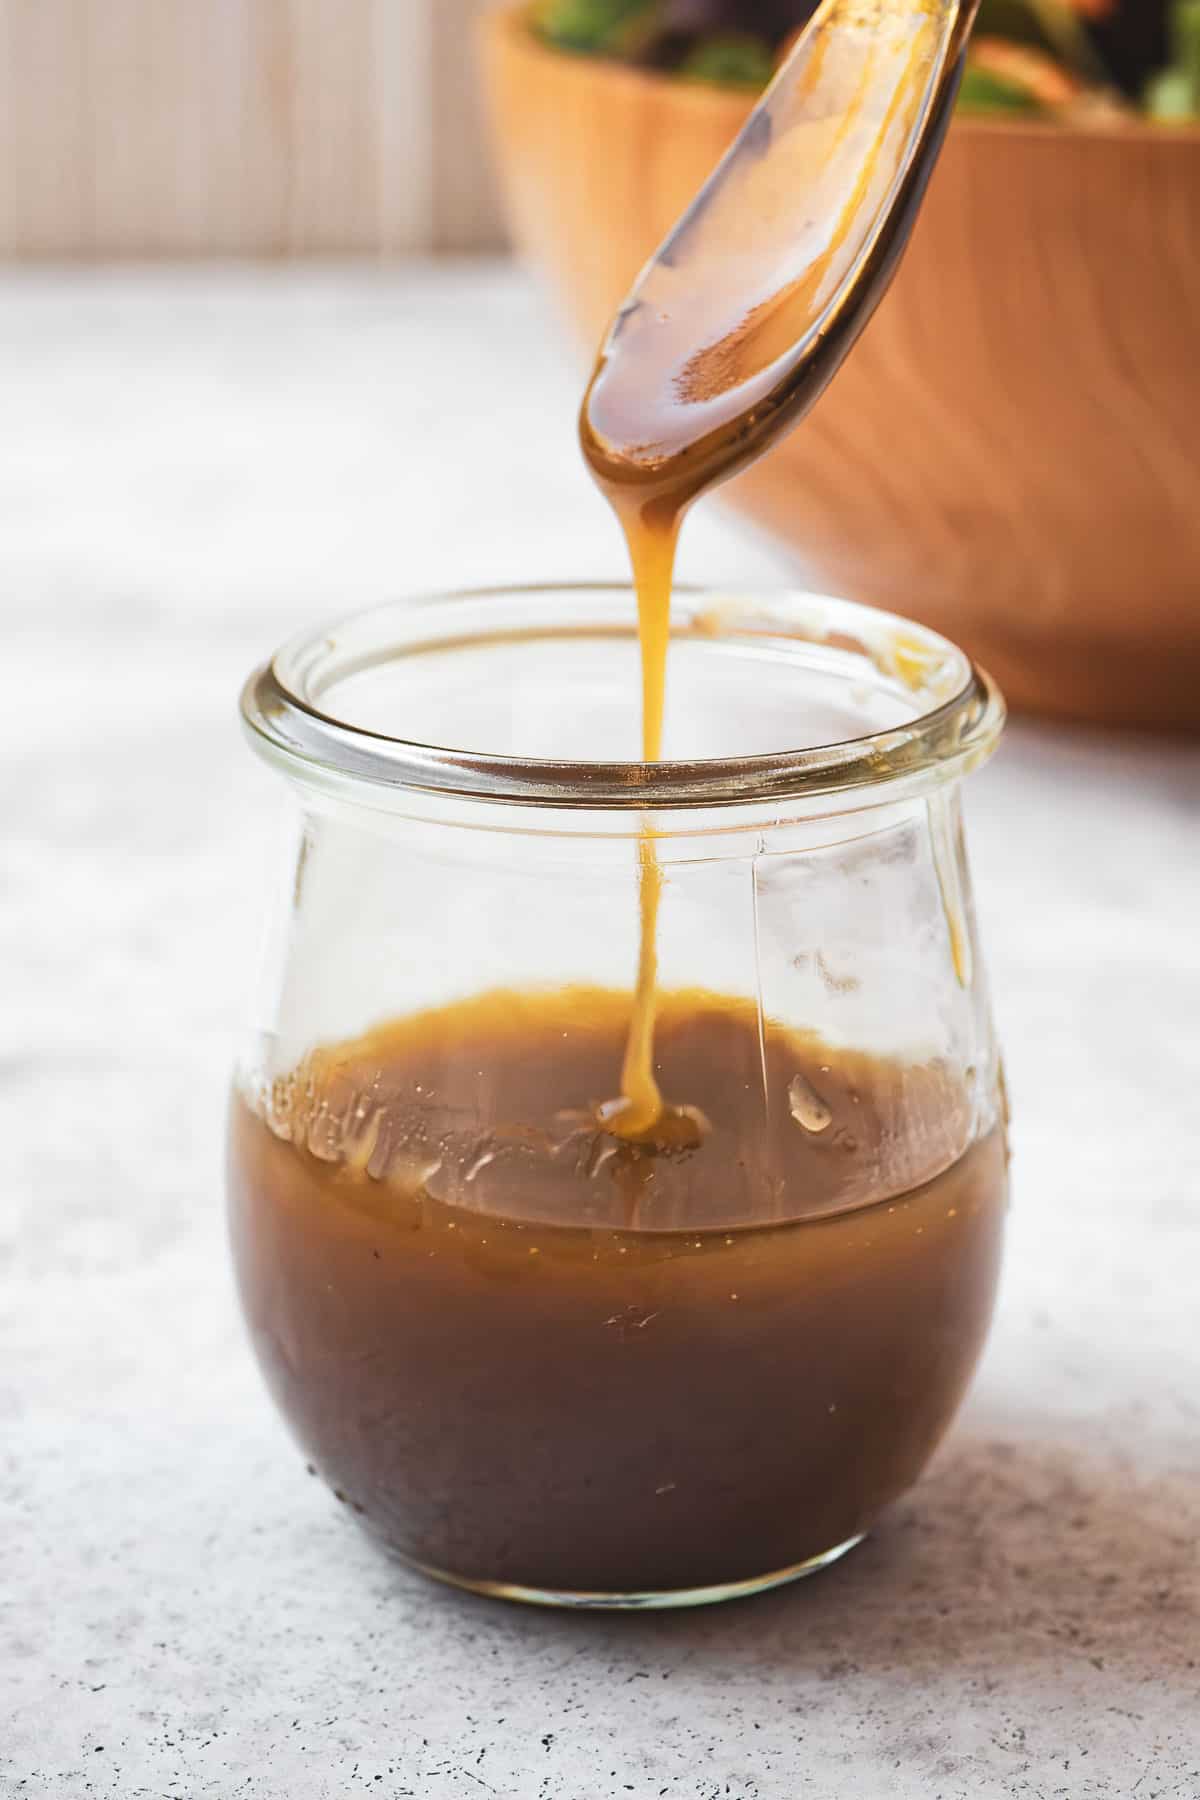
Photo Credits: Elana Lepkowski A great balsamic vinaigrette is all about balance. In this simple yet flavorful recipe, tart balsamic vinegar meets the natural sweetness of honey, while whole grain Dijon mustard adds a touch of zest and texture. Rich, velvety olive oil ties it all together for a perfectly balanced balsamic dressing.
This easy homemade balsamic vinaigrette is my go-to for everything from a weeknight chicken Caprese salad to simply drizzling over seasonal roasted vegetables for added zing. And you probably have everything you need in your pantry!
Table of Contents
- Balsamic Vinaigrette: Homemade Versus Store Bought
- Homemade Balsamic Vinaigrette: The Mediterranean Way
- What You Need to Make Balsamic Vinaigrette
- How to Make Balsamic Vinaigrette
- How to Store Balsamic Vinaigrette
- How to Use this Balsamic Vinaigrette Recipe
- More Go-To Salad Dressing Recipes
- Balsamic Vinaigrette Recipe
- Greek Honey – Thyme, Forest & Wild Herbs
Balsamic Vinaigrette: Homemade Versus Store Bought
Be it balsamic vinaigrette, Dijon, apple cider, or basil, there is simply no substitute for the quality or taste of homemade vinaigrette. Store-bought salad dressings are often filled with low-quality oils, sulfates, preservatives, and added flavorings with high sugar and salt content. Whisking your own dressing allows you to control the ingredients, making it not only healthier but also far more economical and delicious.
Homemade Balsamic Vinaigrette: The Mediterranean Way
I grew up in a Greek home where homemade vinaigrettes were the norm. I had never seen a store-bought salad dressing in our home. To this day, I have never purchased one myself!
Vinaigrettes are also super easy to prepare. My mother had her designated dressing for each of her salads. She had regular favorites, like her Greek salad dressing with olive oil and oregano, her cabbage salad that was super tangy from the copious amounts of lemon juice, her garden salad with a fresh and vibrant balsamic vinaigrette—the list went on.
There was no measuring involved, of course, it was all eyeballed and came together as she tasted and adjusted. “Why buy salad vinaigrettes when they are so simple to make?” she would say!
In this balsamic vinaigrette recipe, I’ll teach you a simple vinaigrette that you can commit to memory and adjust to your liking. You may quickly find yourself like my mother, whisking without measurements, adjusting to your taste, and never overpaying for store-bought again!
What You Need to Make Balsamic Vinaigrette
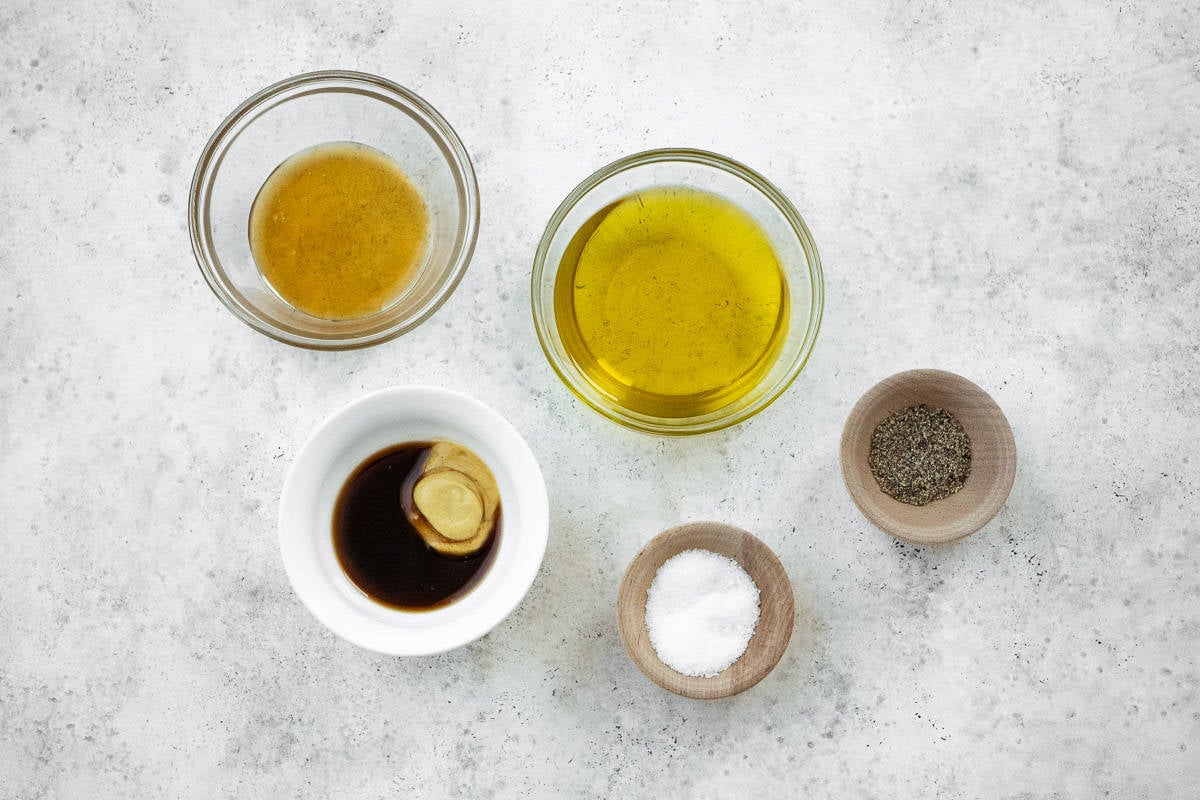
This honey balsamic dressing uses simple pantry staples you likely already have. Here’s what you need:
- Olive oil: I always like to use the best extra virgin olive oil when it comes to vinaigrettes, as it adds a lot of flavor. Something peppery, like our Spanish Hojiblanca, nicely complements the Dijon dressing.
- Mustard: I prefer the texture of whole grain mustard, sometimes called “seeded,” “old style,” or “country style,” but any Dijon mustard you have on hand will work well.
- Balsamic vinegar: Balsamic’s sweetness and acidity, combined with the honey, creates a sticky appetizing honey balsamic dressing.
- Quick Tip: The longer balsamic is aged, the sweeter it will be. Look for a balsamic with no added sugar, and adjust the honey to taste.
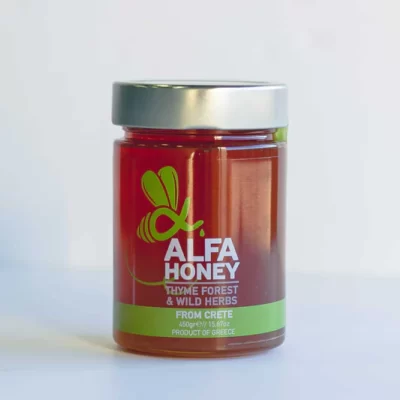
- Honey: Honey varies in taste depending on the type. I use mild light-tasting honey, like our Greek Alfa Honey. You could substitute maple syrup for honey to make it vegan.
- Salt: Kosher salt enhances and brings out the flavor.
How to Make Balsamic Vinaigrette
This honey balsamic dressing is so easy to put together. All you need to do is whisk or shake! Here are the steps:
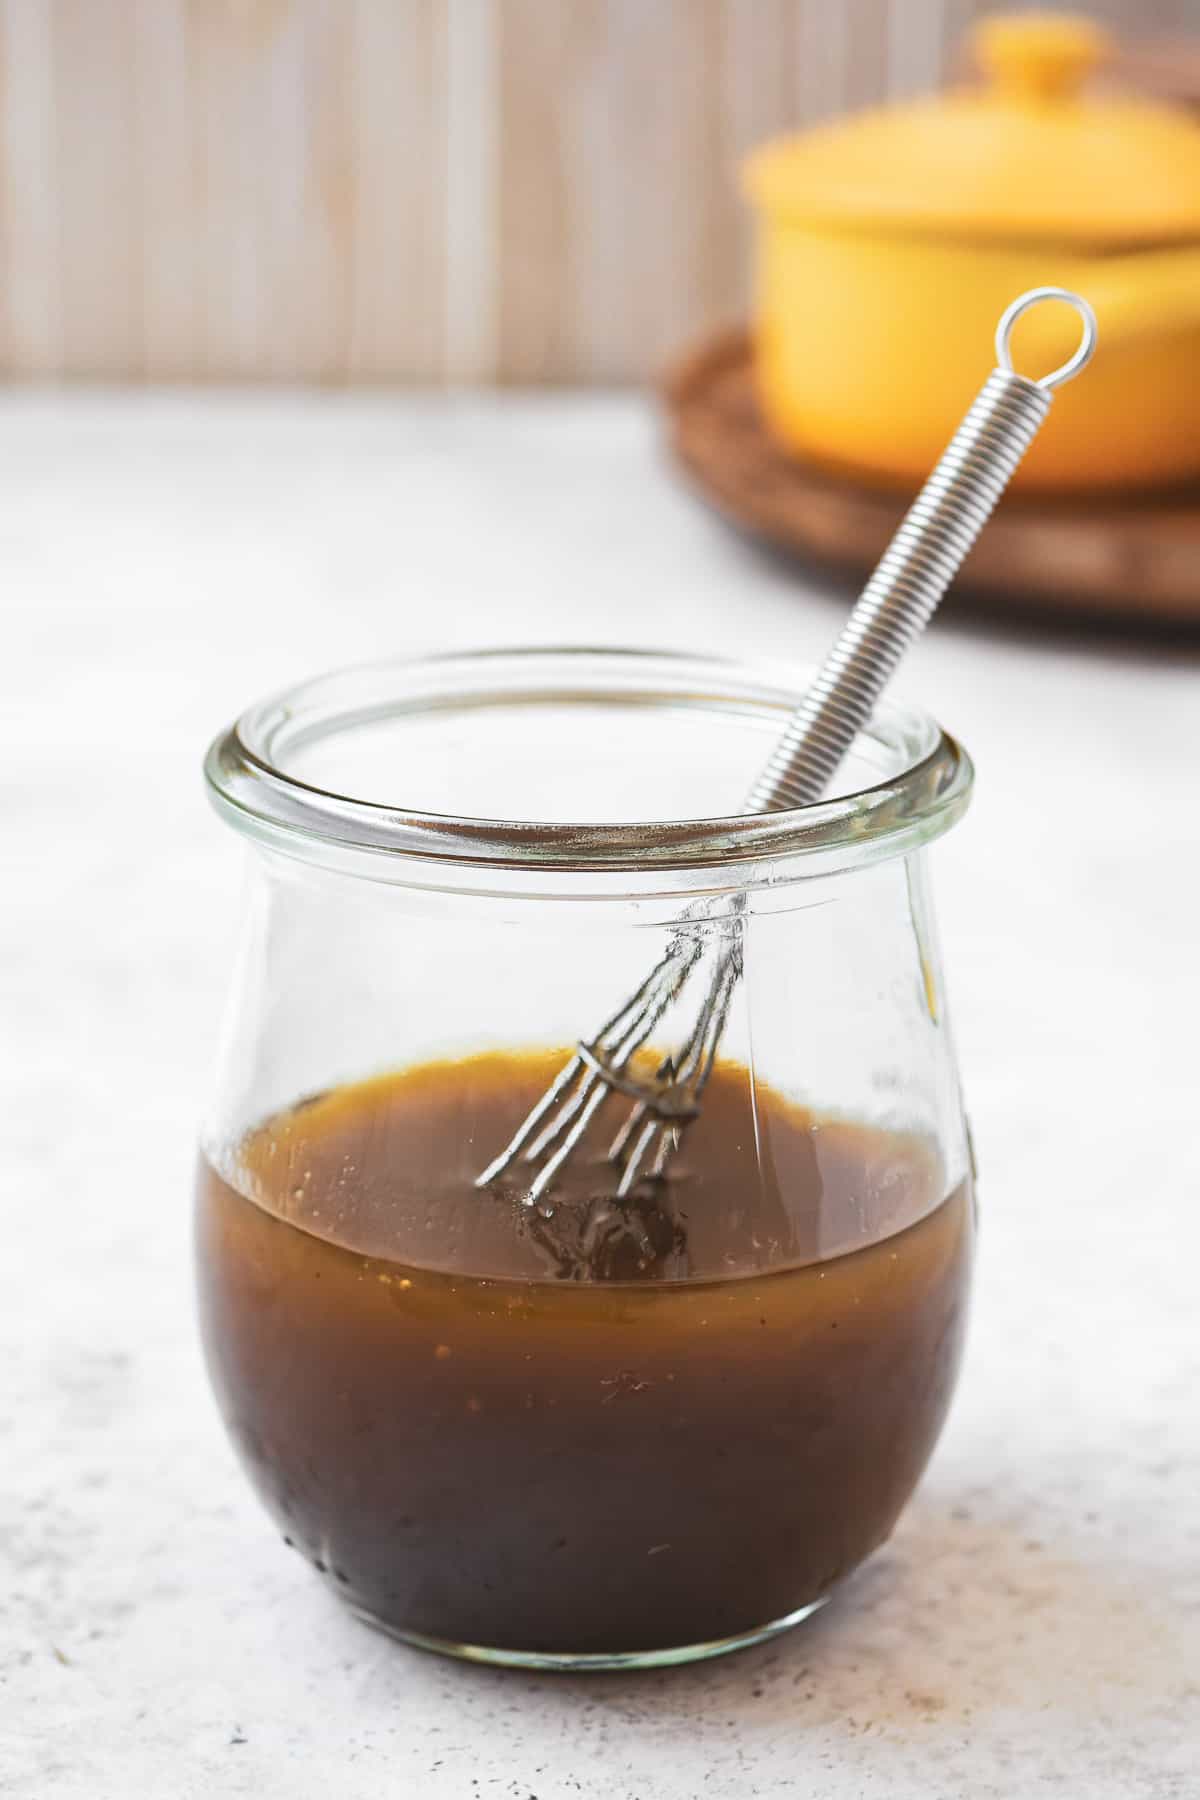
- Whisk. In a large bowl, add 1/2 cup olive oil, 1 teaspoon Dijon, 2 tablespoons balsamic, and 4 tablespoons honey. Season with a pinch of salt and whisk until the vinaigrette is fully emulsified.
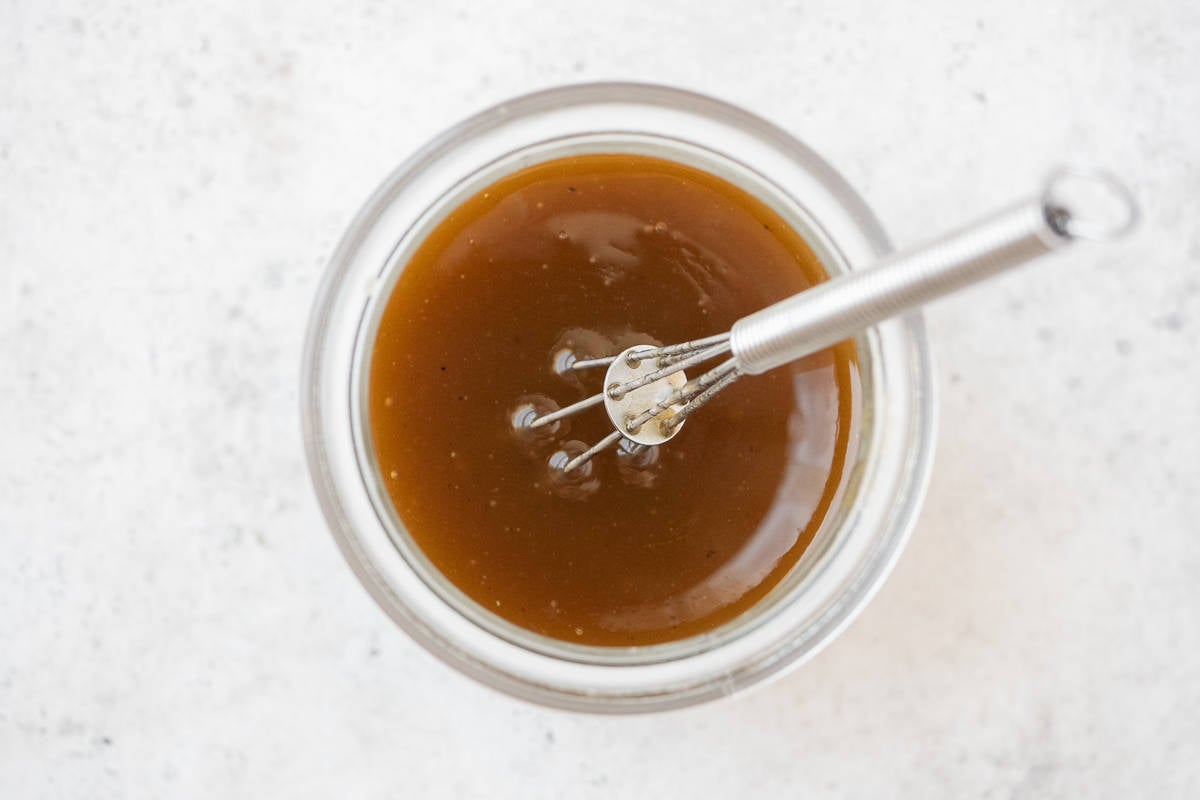
- Taste and adjust as necessary. If it is too thick for your liking, just add one tablespoon or so of boiled water to loosen it. If you’d like it to be more peppery, add more Dijon. For more sweetness, add more honey. For more tartness, add a splash more balsamic. If it tastes a bit dull or flat, whisk in a pinch more salt.
- Use or store. Use immediately, or store in a jar with a lid and refrigerate for up to 2 weeks, shaking well before serving.
How to Store Balsamic Vinaigrette
As with just about any vinaigrette recipe, you can make this honey balsamic dressing ahead. Simply whisk, seal in a glass jar, and store for up to 2 weeks in the refrigerator. When you’re ready to use it, simply shake to mix the ingredients together.
The oil and vinegar will separate and thicken during storage. Just give it a good shake. Olive oil can also solidify in the refrigerator. This is not a problem. Remove the balsamic dressing from the fridge and allow it to come to room temperature. If you’re short on time, simply add one tablespoon of boiled water. Whisk, taste, and adjust with a dash more vinegar and honey.
How to Use this Balsamic Vinaigrette Recipe
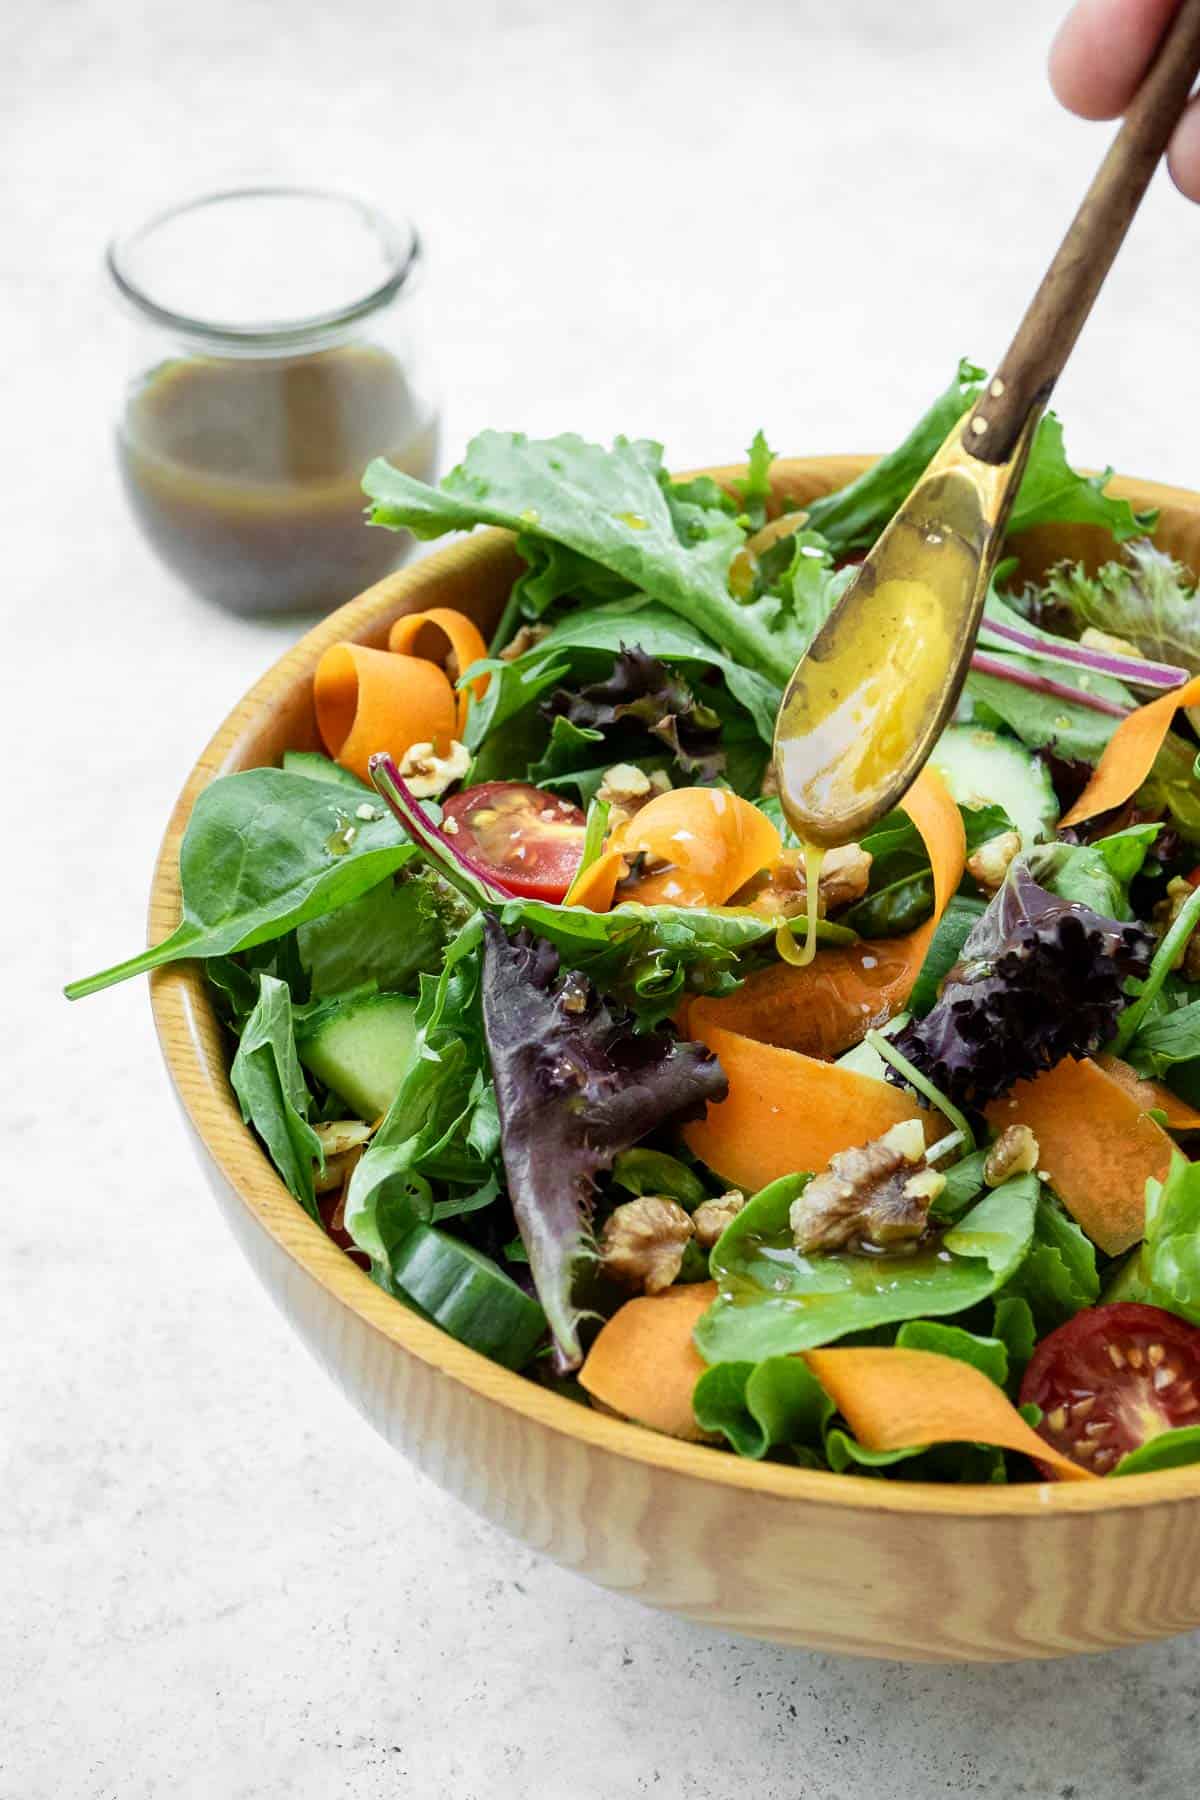
This honey balsamic dressing is a great go-to healthy salad dressing for any fresh salad. The sweet-tart flavor works particularly well with something peppery like fresh arugula. This arugula salad with fresh berries is a perfect match. I also love to complement the sweet-meets-earthy flavors of beet and pear salad.
But don’t stop at salads! Balsamic vinaigrette will bring simple roasted or grilled seasonal vegetables to the next level. It also works beautifully as a marinade for chicken or fish!
More Go-To Salad Dressing Recipes
Middle Eastern
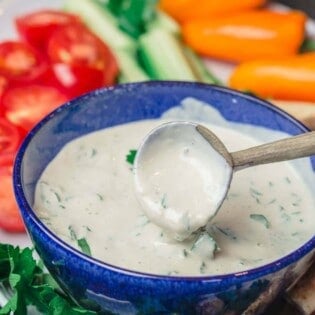
Tahini Sauce Recipe-How to Make Tahini Sauce (Video)
Dips and Condiments
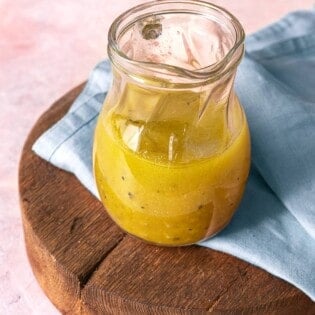
Apple Cider Vinaigrette
Dips and Condiments
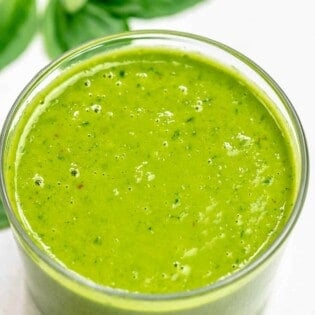
Easy Basil Vinaigrette Recipe
Browse all Mediterranean recipes.
Visit Our Shop.
Balsamic Vinaigrette
Sweet, tart, peppery and delicious, this honey balsamic dressing is sure to become your go-to vinaigrette.Servings 20 salads (approximately; Recipe makes 3/4 cup dressing)Calories 62.1kcalIngredients
- 1/2 cup extra virgin olive oil
- 1 teaspoon Dijon mustard (I like whole grain or seeded)
- 2 tablespoons balsamic vinegar
- 4 tablespoons honey
- Kosher salt
Instructions
- Whisk. In a large bowl, add the olive oil, Dijon, balsamic, and honey. Season with a pinch of salt and whisk until the vinaigrette is fully emulsified.
- Taste and adjust as necessary. If it is too thick for your liking, just add one tablespoon of boiled water to loosen it. If you’d like it to be more peppery, add more Dijon. For more sweetness, add more honey. For more tartness, add a splash more of balsamic. If it tastes a bit dull or flat, whisk in a pinch more salt.
- Use or store. Use immediately, or store in a jar with a lid and refrigerate for up to 2 weeks, shaking well before serving.
Notes
- Shop this recipe: Visit our shop to browse quality Mediterranean ingredients including the olive oil and honey used in this recipe.
- If your honey is very thick, whisk in one tablespoon of boiled water to help loosen it.
- You could substitute maple syrup for honey to make it vegan. As with all sweeteners, you want to taste and adjust as you go so that it doesn’t overpower.
Nutrition
Calories: 62.1kcal | Carbohydrates: 3.7g | Protein: 0.03g | Fat: 5.4g | Saturated Fat: 0.7g | Polyunsaturated Fat: 0.6g | Monounsaturated Fat: 3.9g | Sodium: 3.4mg | Potassium: 4.4mg | Fiber: 0.02g | Sugar: 3.7g | Vitamin A: 0.2IU | Vitamin C: 0.02mg | Calcium: 0.9mg | Iron: 0.1mgGreek Honey – Thyme, Forest & Wild Herbs
A drizzle of this high quality Greek honey adds the perfect finishing touch to your balsamic vinaigrette!
The post Balsamic Vinaigrette appeared first on The Mediterranean Dish.
- 7 Health Benefits of Dates, According to a Dietitian
Often called “nature’s candy,” you may find yourself asking: Are dates healthy? Can something this sweet, with a decadent caramel-like flavor, really be good for you? Read on to learn the health benefits of dates, and the easy ways to add these nutritional powerhouses to your diet.
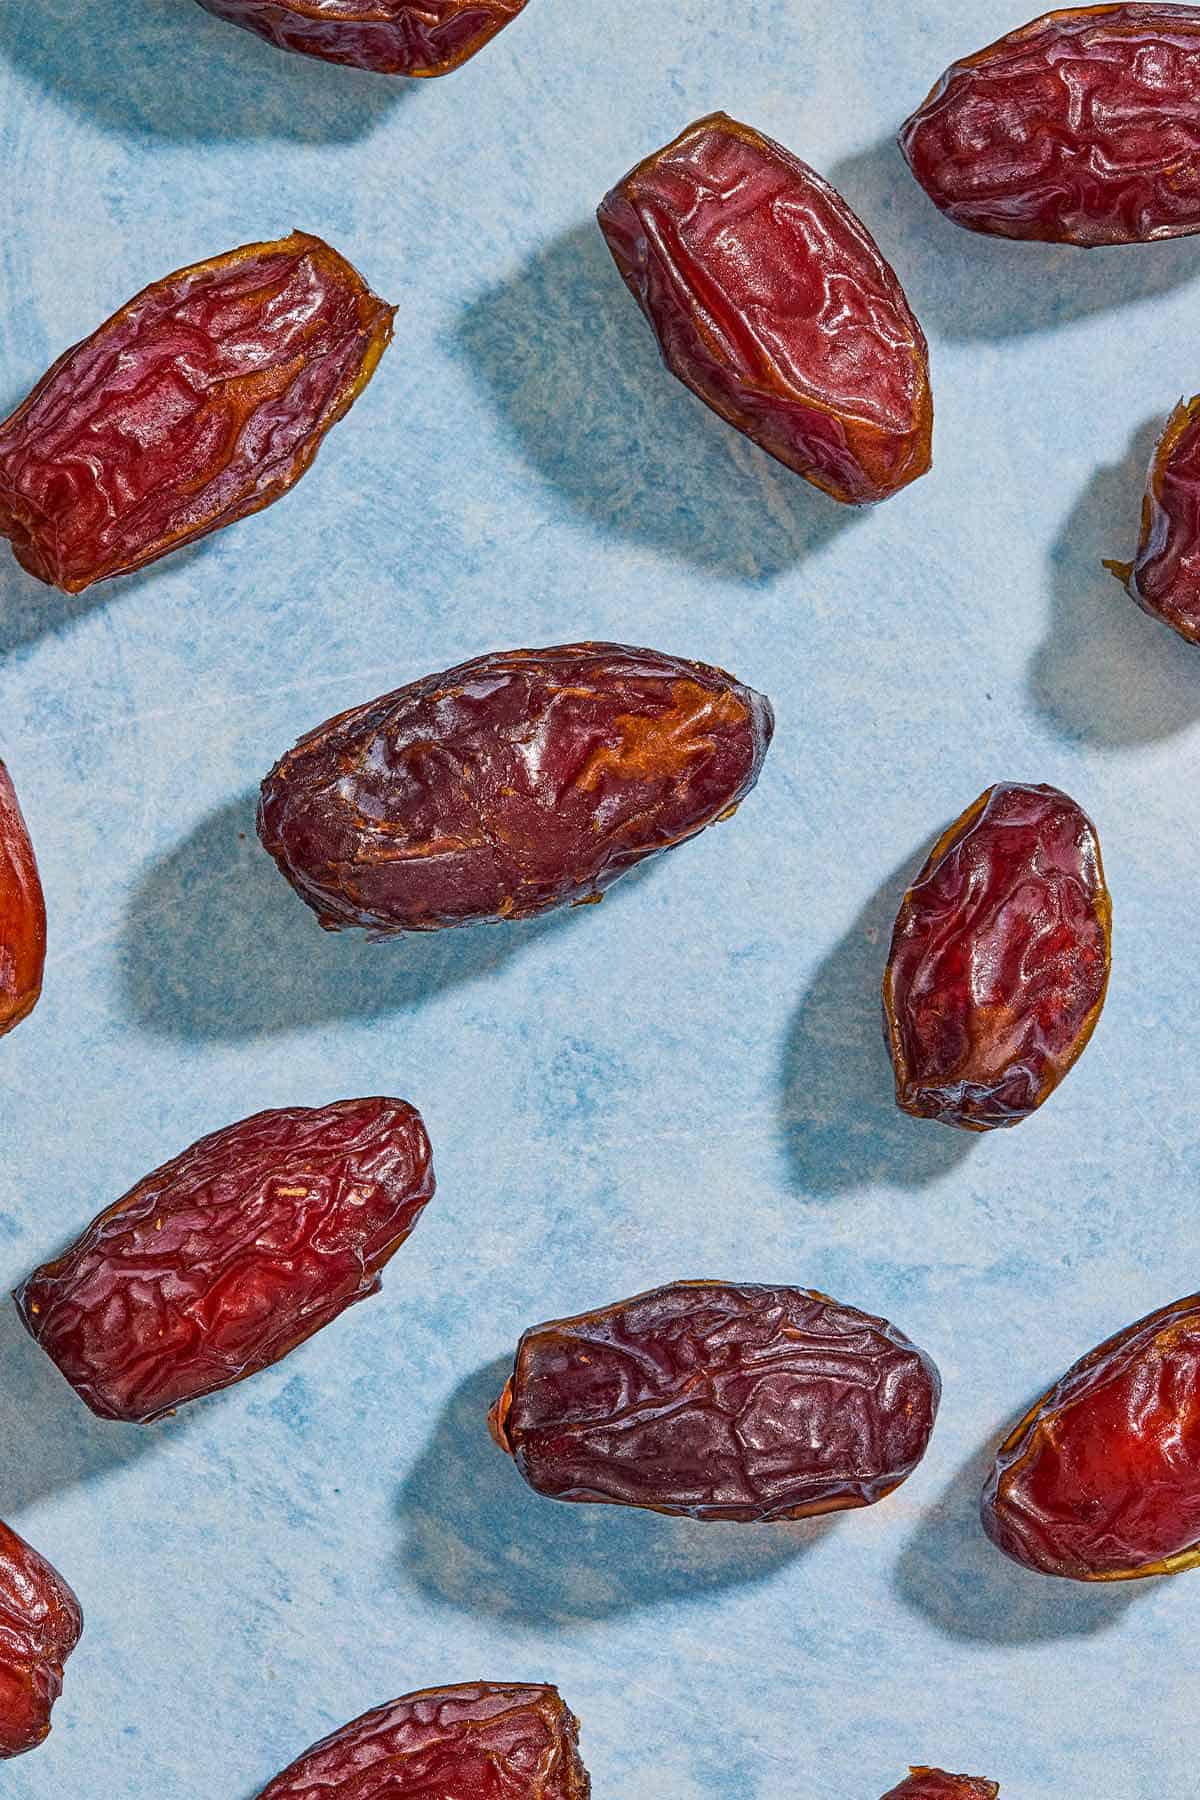
Photo Credits: Ali Redmond Dig into the health benefits of dates and you’ve stumbled on what’s essentially the heart of the Mediterranean Diet. Unlike processed foods that often rely on added sugars, the Mediterranean way naturally satisfies sweet cravings with ingredients that offer both flavor and nutritional value. It’s built on a foundation of whole, nutrient-dense foods like fruits, vegetables, whole grains, nuts, and heart-healthy fats.
Research consistently links excess sugar intake to an increased risk of heart disease, type 2 diabetes, and inflammation. This makes natural, whole food alternatives a smart choice. One of my favorite naturally sweet fruits? Dates!
These little gems have been a staple in Mediterranean and Middle Eastern cuisine for centuries. Today, they’re a versatile addition to your kitchen. Layer them in traditional Persian crispy rice, bake them into your sweet banana bread, or grab a tahini snack bite for a wholesome afternoon treat.
So let’s dive into dates’ nutrition facts, with 7 reasons to incorporate these “natural candies” into your diet. Plus, our favorite sweet and savory date recipes!
Table of Contents
Dates Nutrition Facts
According to the USDA, 100 grams of Medjool dates (or 3.5 ounces, which is about 3-4 dates) have the following nutrients:
- Calories: 277
- Carbohydrates: 75 grams
- Fiber: 6.7 grams
- Protein: 1.8 grams
- Potassium: 696 milligrams (over twice the potassium of a banana!)
- Magnesium: 54 milligrams
- Calcium: 64 milligrams
What are Dates, Exactly?
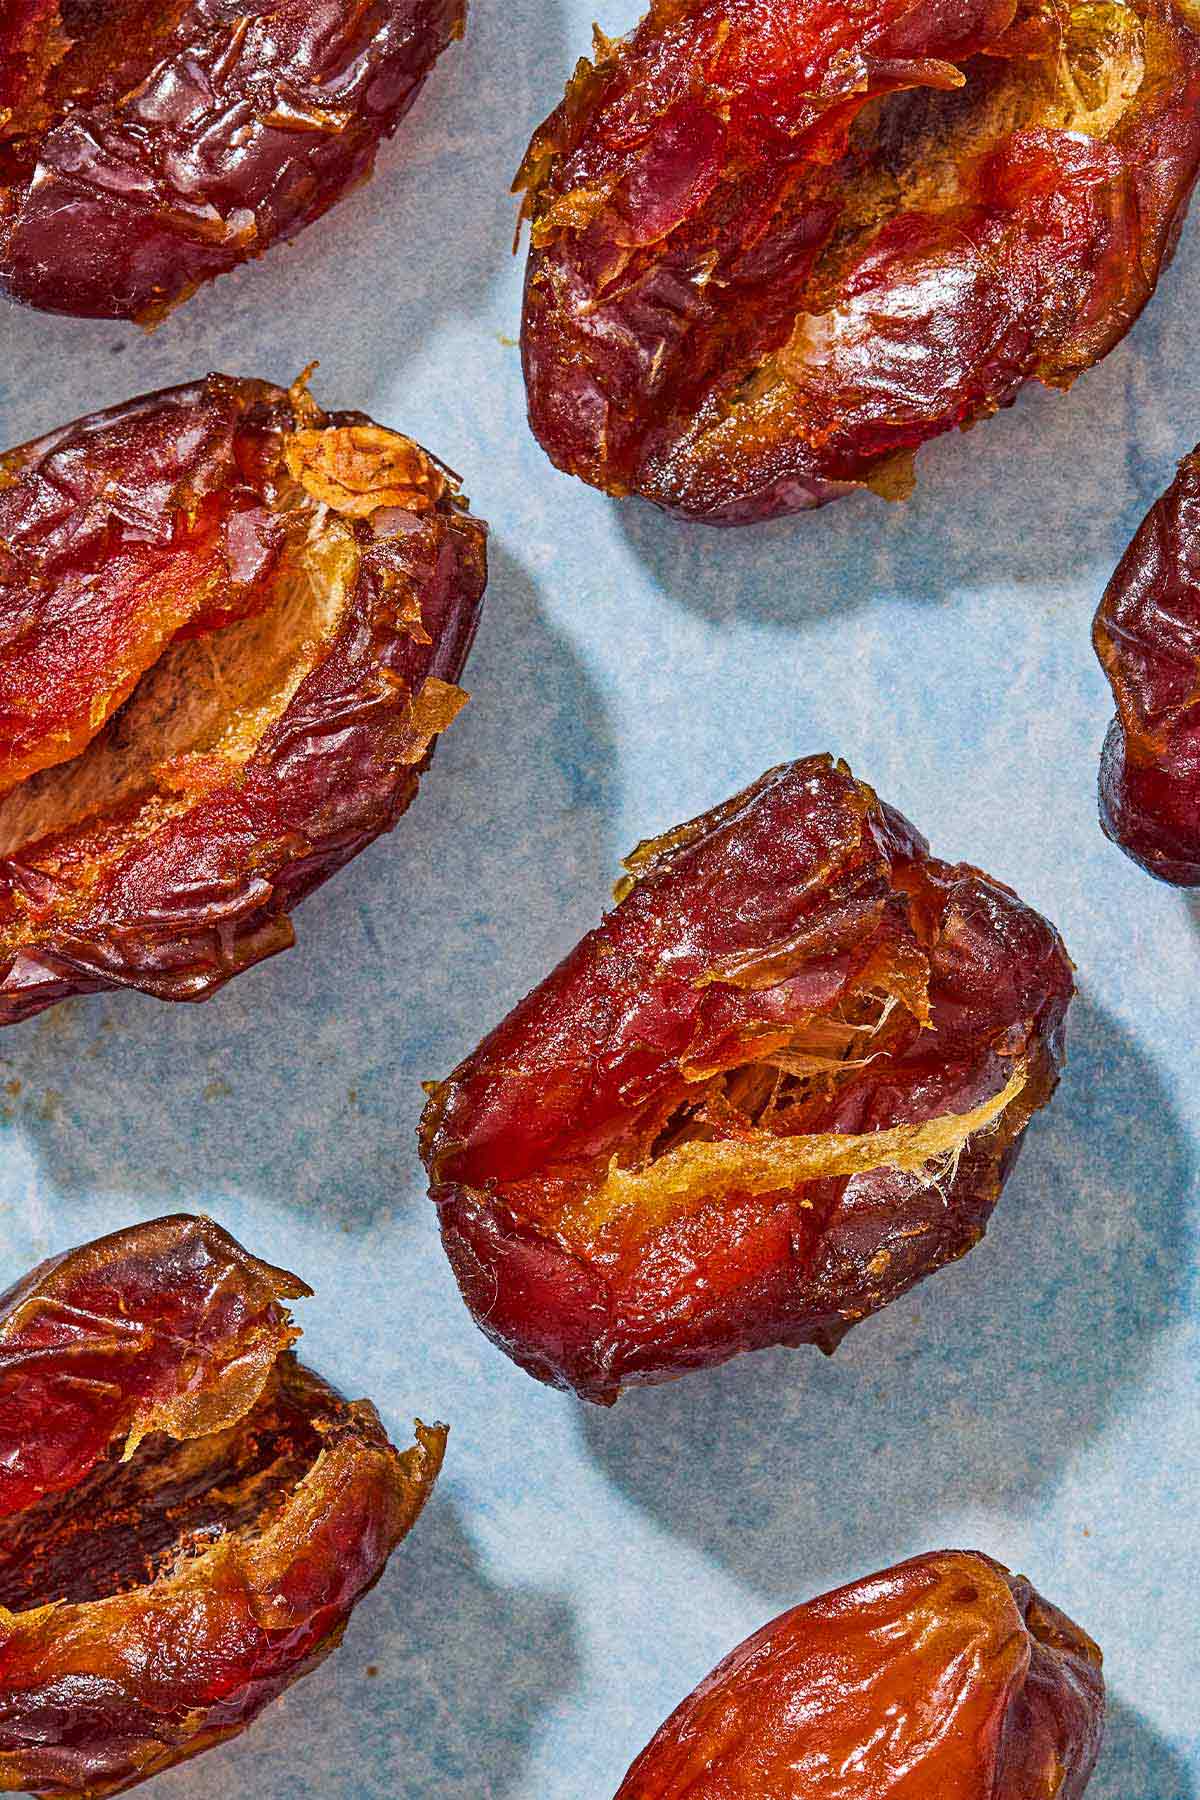
Dates are a stone fruit of the date palm tree, which thrive in the warm weather of the Middle East, North Africa, and California. The majority of the dates you buy at the store are either dried or semi-dried. But you can actually eat fresh dates as well!
With thousands of varieties available, the most popular and widely available at your grocery store are Medjool dates and the Deglet Noor dates. Medjool dates are typically the largest and most tender.
7 Health Benefits of Dates
Natural sweeteners like dates provide a delicious alternative to refined sugar while delivering essential nutrients that fuel your body. Here are 7 reasons to love dates:
- Rich in Antioxidants: Dates contain several powerful antioxidants, such as flavonoids, carotenoids, and phenolic acid. These compounds help protect your cells from free radicals and reduce inflammation. This helps lower your risk for chronic diseases like diabetes, cancer, and heart disease.
- What are free radicals? Free radicals are unstable molecules that can harm the body by causing oxidative stress. This oxidative stress can damage cells and contribute to aging and disease.
- Support Digestive Health: Dates are high in fiber, which helps promote a healthy gut, prevent constipation, and may support beneficial gut bacteria. Studies also show their possible role in reducing colorectal cancer.
- Boost Energy Levels: Their combination of carbohydrates (the natural sugars glucose and fructose), fiber, and essential nutrients makes dates a nourishing choice to keep you energized and focused throughout the day.
- Heart-Healthy: Dates’ high fiber and antioxidant content help support healthy cholesterol levels, maintain optimal blood pressure, and promote overall heart function.
- Support Brain Health: The antioxidants in dates may help reduce neuroinflammation and prevent plaque formation in the brain—two key factors linked to cognitive decline and neurodegenerative diseases like Alzheimer’s.
- Support Bone Health: Dates are a natural source of essential minerals like calcium, phosphorus, and magnesium, all of which play a crucial role in maintaining strong and healthy bones.
- Healthy Alternative to Refined Sugar: Dates are a wonderful alternative to refined sugar. Naturally sweet, they provide fiber, potassium, and antioxidants, which slow down sugar absorption and can help prevent blood sugar spikes.
Are Dates Healthy? The Big Picture
Whether used in sweet or savory recipes, dates boast a low glycemic index while providing fiber, antioxidants, potassium, and magnesium. Foods with a lower glycemic index cause a slower, more gradual rise in blood sugar. This makes them better for sustained energy, blood sugar control, and a reduced risk of insulin resistance.

Photo of Tahini Date Shake by Mark Beahm How to Enjoy Dates on the Mediterranean Diet
The best part? Dates are incredibly easy to incorporate into your daily routine. Stuff with nut butter for an extra satisfying snack, toss them into oatmeal, Greek yogurt, or sprinkle them over salads. Here are 5 ways to eat dates:
- Breakfast: Blend this 5-minute Tahini Date Shake with unsweetened almond milk and a dash of cinnamon. So rich and delicious, you’ll think you’re having dessert!
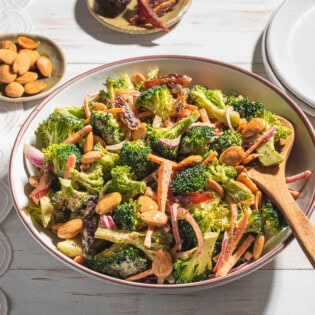
- Lunch: Broccoli Salad with crunchy vegetables, sweet dates, and toasted almonds and creamy Greek yogurt dressing is the perfect make-ahead lunch. Up the protein with crispy roasted chickpeas or grilled chicken breast.
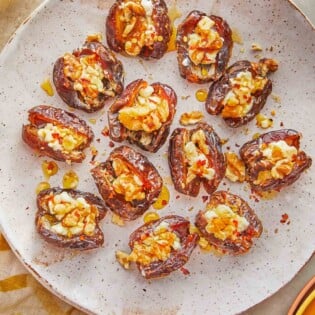
- Snack/Appetizer: Goat cheese stuffed dates are an easy, no-cook appetizer that really delivers on the wow factor! All you need is Medjool dates, goat cheese, walnuts, and a little bit of honey.
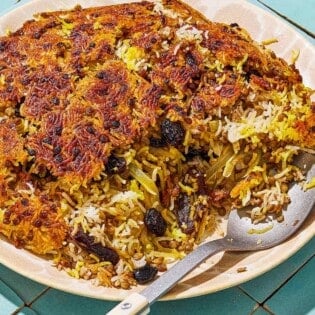
- Dinner: Dates are delicious in savory mains too! Adas Polo, a traditional Persian crispy rice dish with caramelized onions and lentils, is sure to impress.
- Dessert: Healthy Banana Walnut Bread swaps refined sugar and butter for flavorful honey, sticky-sweet dates, and extra virgin olive oil (we like something rich and smooth, like Italian Nocellara). Plus, it’s even better the next day!
How to Store Dates
Store dates in an airtight container or mason jar. Keep semi-dry dates, like Deglet Noor and Zahidi, at room temperature in a cool, dark place for up to 6 months. Keep fresher varieties, like Medjool, in your refrigerator for up to 6 months.
How to Tell if Dates Have Gone Bad
It’s normal for the dates’ sugar to crystallize, so don’t worry about that, but if the dates are spotty, fuzzy, sour-smelling, bitter, or dry and crumbly, it’s time to throw them away.
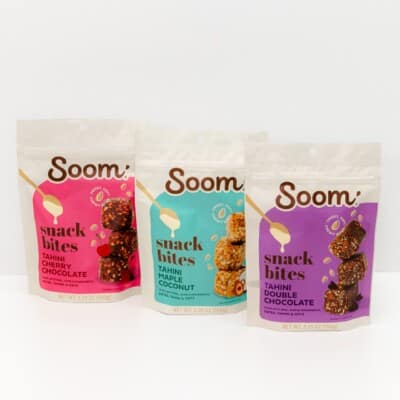
Soom Snack Bites
A healthy afternoon treat you’ll crave, with sweet dates, nutty tahini, and three irresistible flavors: Double Chocolate, Cherry Chocolate, and Maple Coconut.
Use Dates in These Healthy Recipes!
Sides and Small Plates
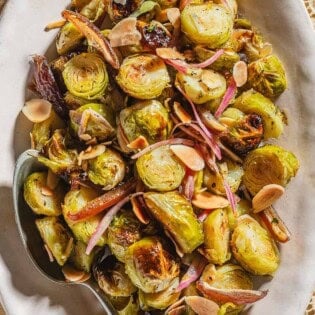
Roasted Brussels Sprouts with Dates and Almonds
Appetizer and Mezze
Easy Stuffed Dates
The post 7 Health Benefits of Dates, According to a Dietitian appeared first on The Mediterranean Dish.
- Baghali Polo (Persian Dill and Fava Bean Rice)
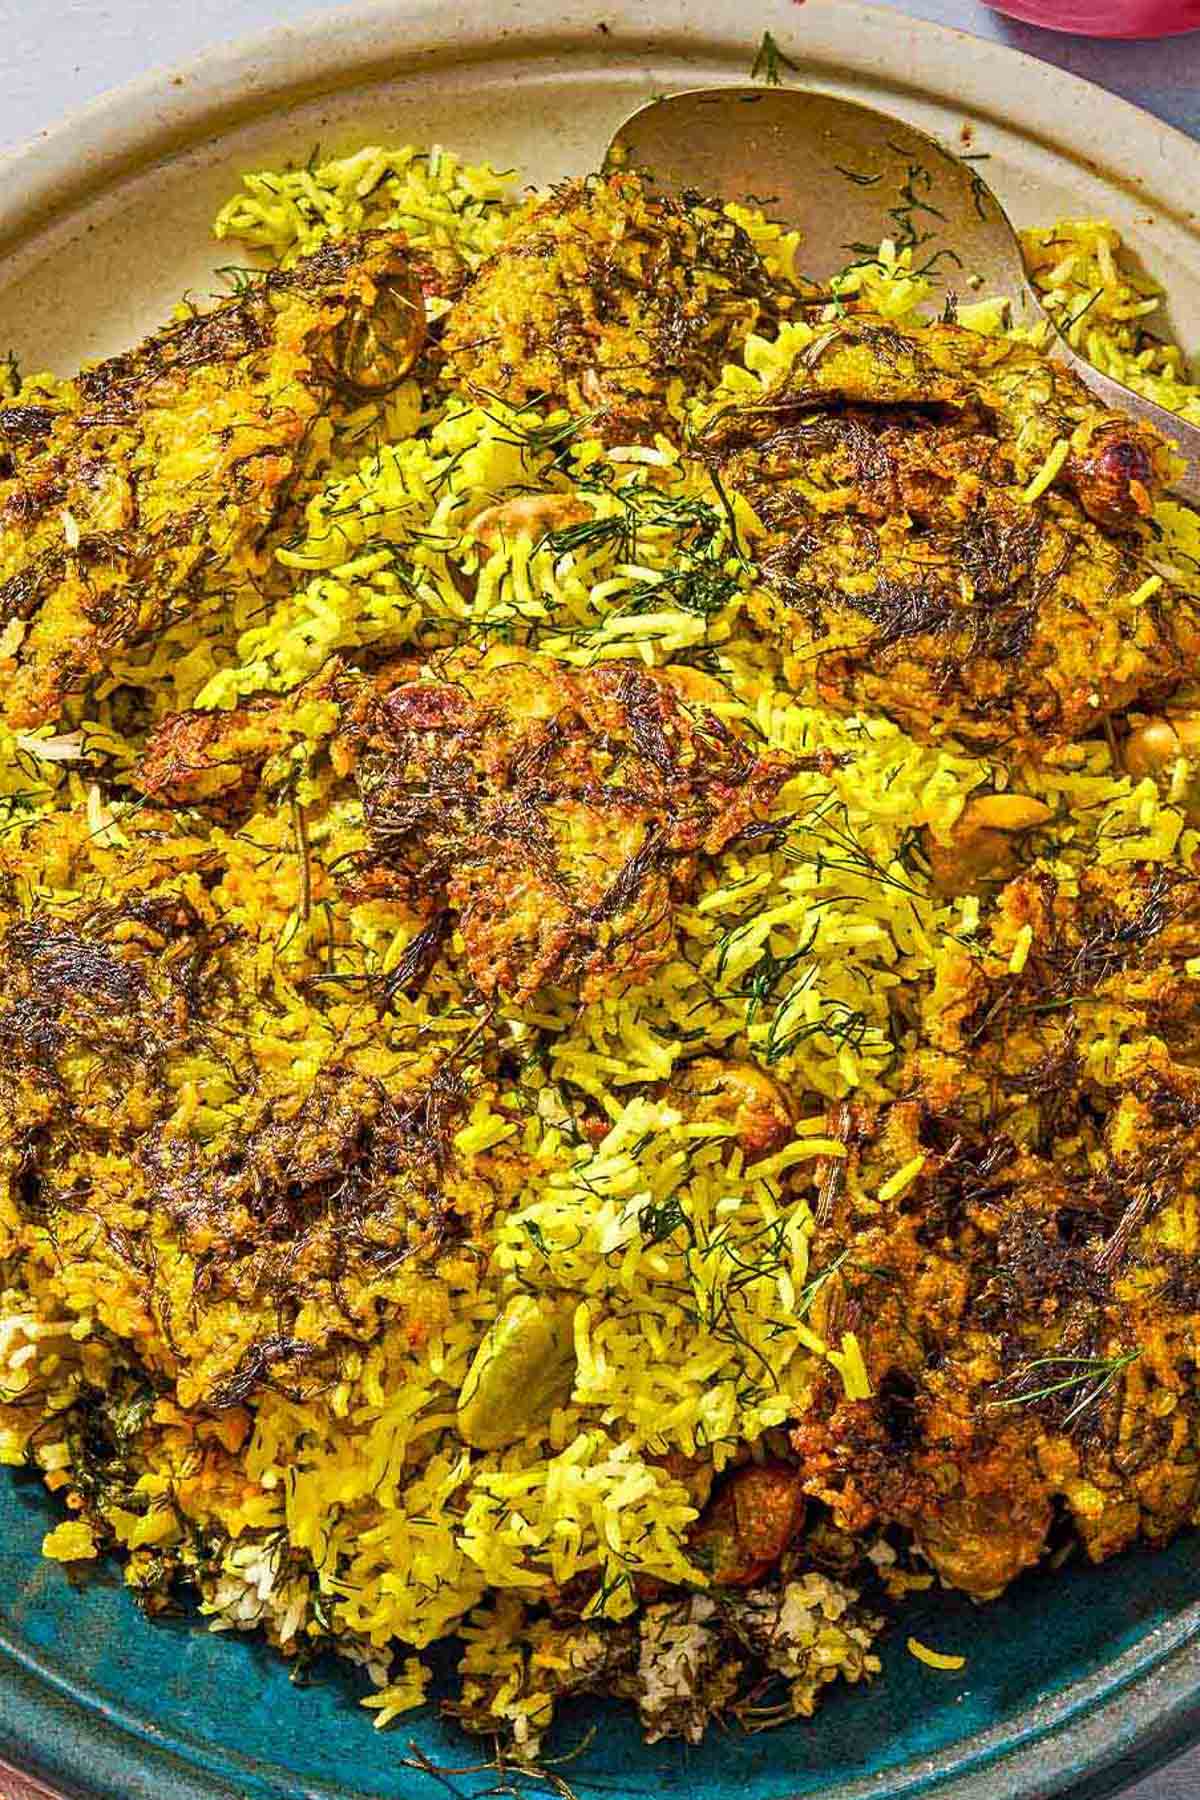
Baghali Polo, or Persian dill and fava bean rice, is a beautiful dish often made for celebrations and family gatherings. It’s a pilaf-style dill rice with fava beans. It’s scented with golden saffron and includes a layer of crispy tahdig.
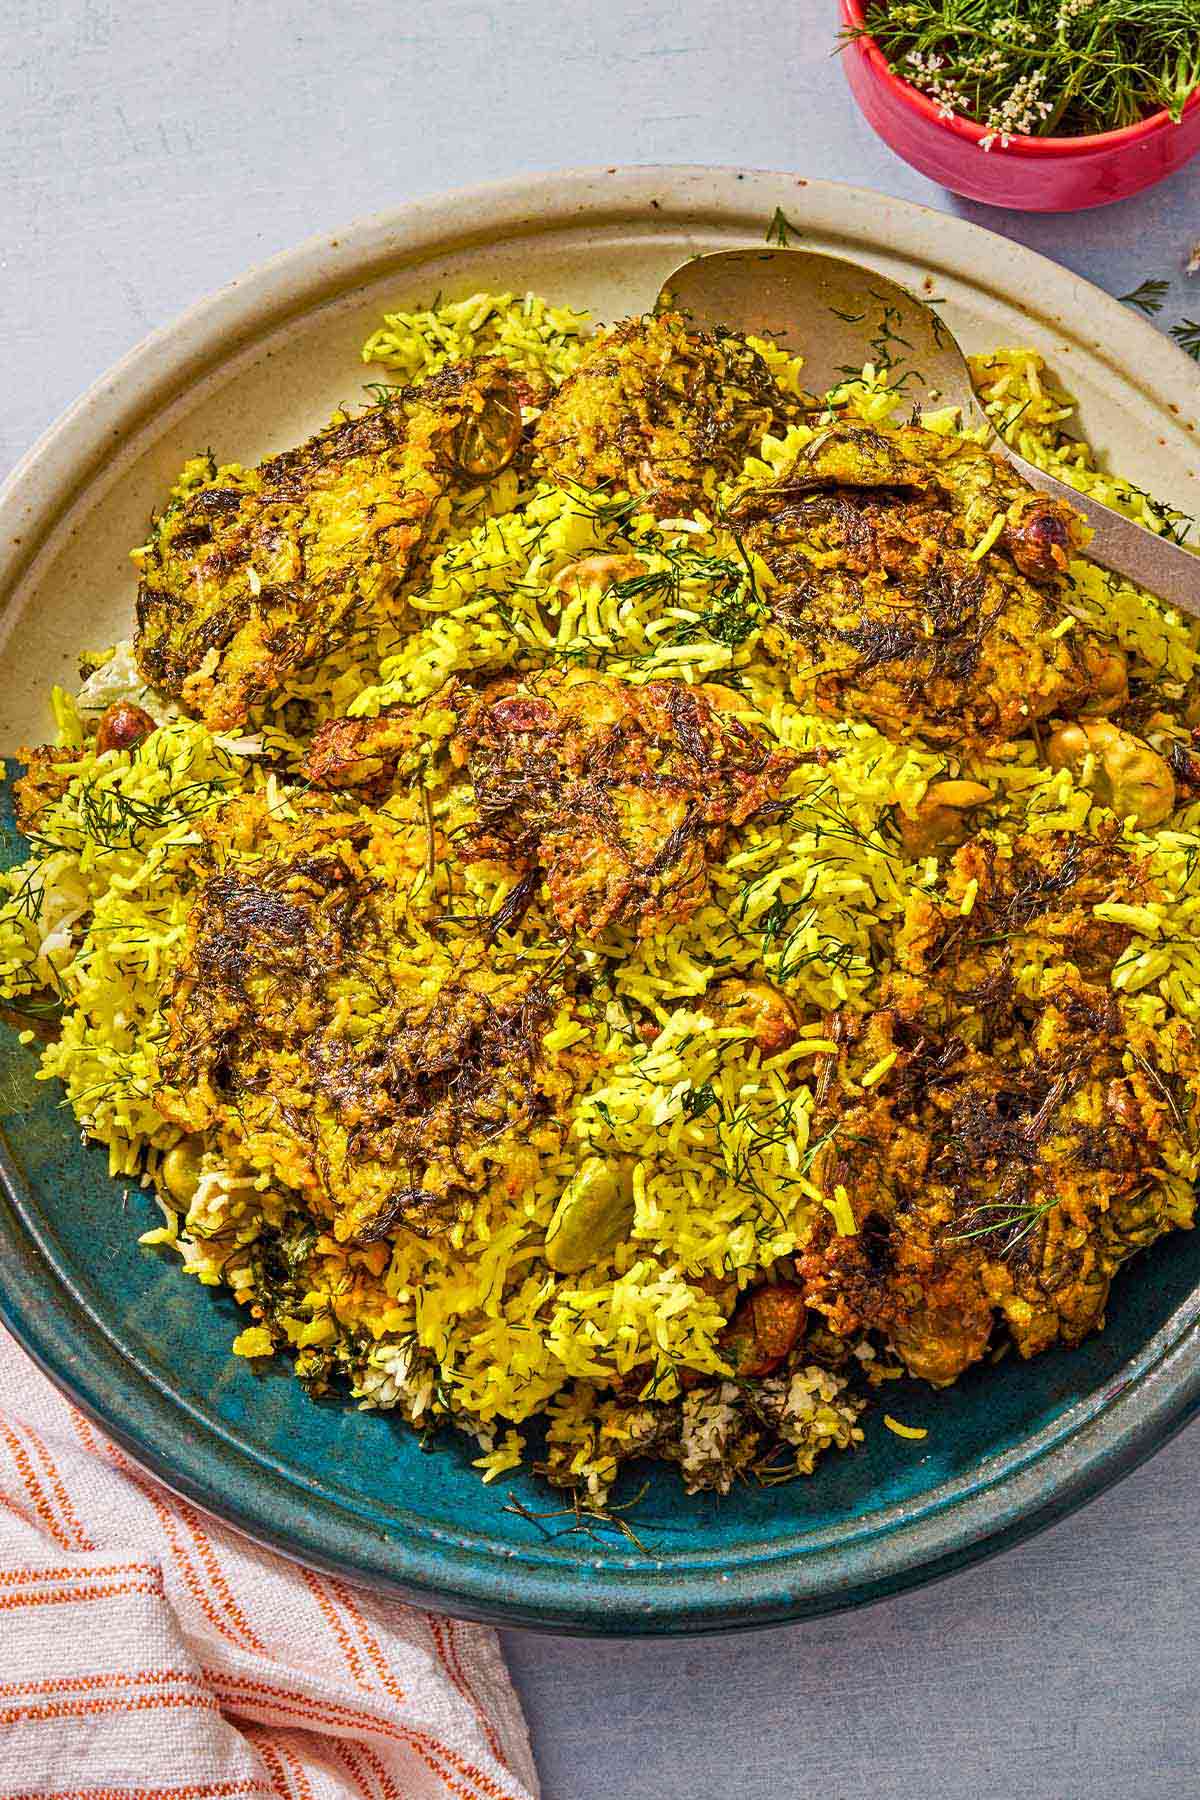
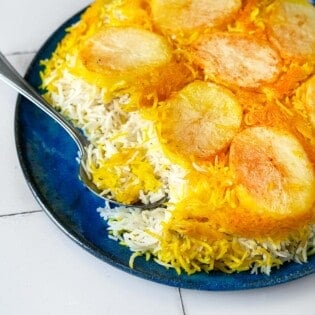
Photo Credits: Ali Redmond Rice is a Persian staple. We have a wide range of different rice dishes ranging from plain rice—Persian Rice with Potato Tahdig — which we eat with stews and kebabs; to rice mixed with vegetables, herbs, dried fruit, or, as in Adas Polo, lentils.
Baghali polo is one of our traditional rice dishes, where basmati rice is steamed with a generous quantity of fresh dill, tender green fava beans, and saffron. As with all Persian rice dishes, this recipe delivers tahdig—a layer of crispy rice created at the bottom of the pot.
At a Persian gathering, we often serve Baghali Polo with Braised Persian lamb shanks called mahiche, but the rice takes center stage on the dining table. We pile it into a small mountain on a serving dish with specks of yellow from the saffron, dark green from the dill, and vibrant lime green from the fava beans layered throughout. I like to serve the crispy tahdig layer on a separate plate, but you can just break it up and place it on top. It’s often the first dish to be cleared!
Table of Contents
What You Need to Make Baghali Polo
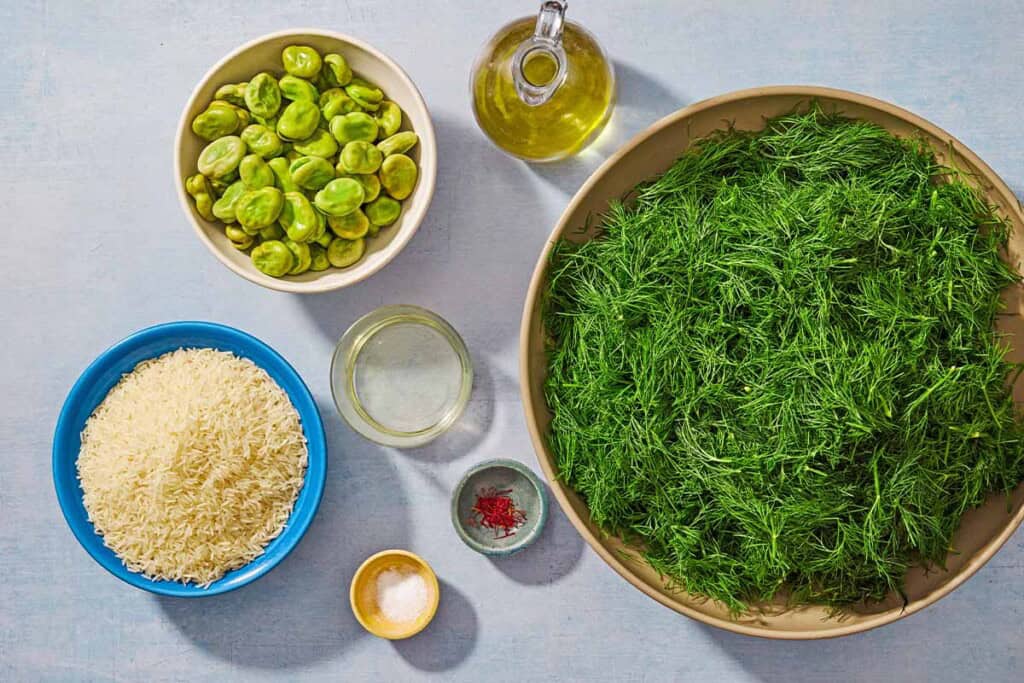
To make this traditional Persian recipe, you will need the following ingredients:
- Basmati rice: a long-grain and fragrant rice, crucial for creating Persian rice dishes.
- Water is the cooking liquid for the rice, but it’s also essential for rinsing and soaking it in addition to parboiling and steaming it.
- Salt infuses the rice with seasoning as it parboils.
- Saffron adds a floral, musky aroma and flecks of golden color.
- Fava beans: Also called broad beans, are a key part of this dish. Choose either fresh fava beans and shell them yourself, or seek out frozen, shelled fava beans. I would not recommend using canned or dried favas because they lack the vibrant green color of the fresh and frozen options. If you can’t find favas, frozen shelled edamame or lima beans are the best substitute.
- Fresh dill is the starring flavor of this dish. In this recipe, it’s used more like a vegetable than an herb. Pick bunches with a vibrant green color and a strong aroma. If fresh dill is prohibitively expensive, or you can only find it sold in small quantities, feel free to supplement fresh dill with dried dill weed sprinkled in between the layers of rice.
- Vegetable oil helps crisp the tahdig layer. Persians generally use vegetable oil, but any neutral-flavored oil is fine to use.
- Extra virgin olive oil drizzled onto the layers of rice helps fluff and separate the grains once they are cooked. Traditionally, Persians use a mix of vegetable oil and melted butter or ghee, but substituting olive oil makes this version healthier.
How to Make Baghali Polo
Making this baghali polo recipe requires several steps to prepare the rice because it soaks, parboils, and then steams to achieve the crispy tahdig layer. Here’s what the process looks like, step by step:
Par-cook the Rice
- Rinse and soak the rice: Rinse 2 cups basmati rice with cold water in a fine mesh sieve until the water runs clear. Place in a bowl and cover with cold water, with two inches clear above the rice. Leave to soak for a minimum of 1 hour, preferably overnight.
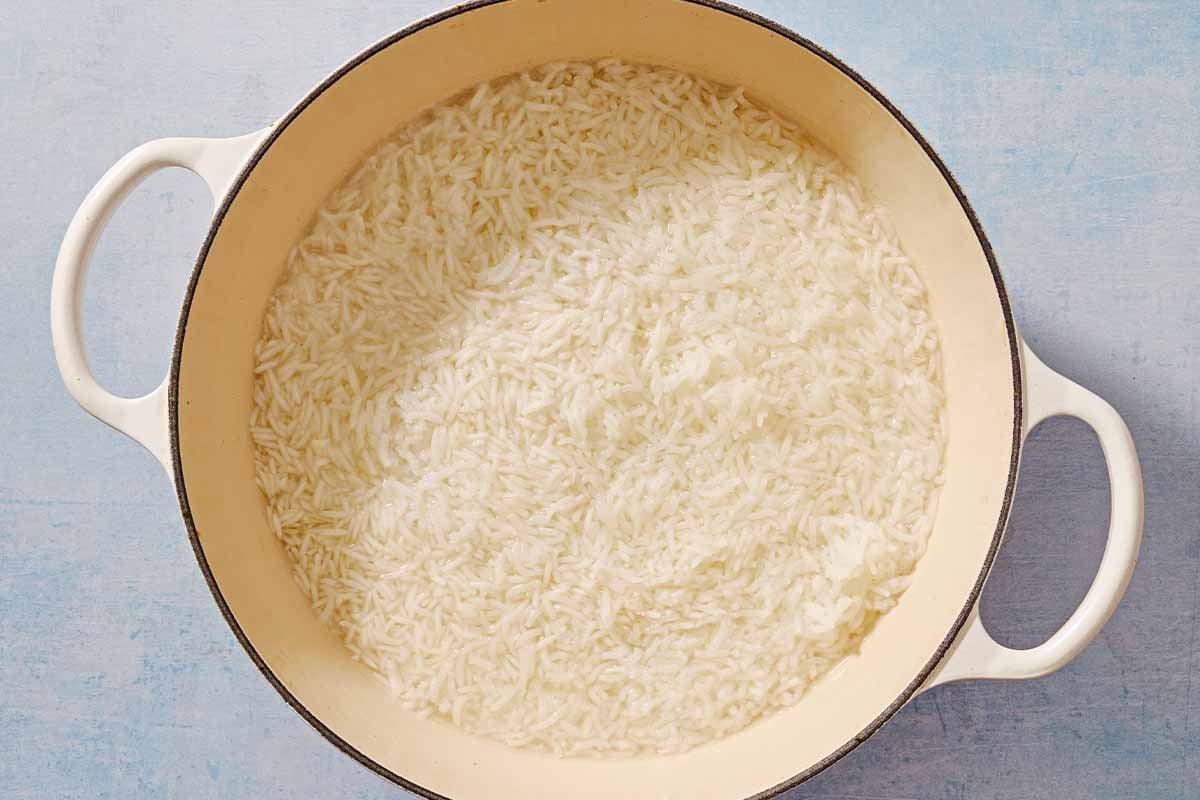
- Parboil the rice: Approximately 1 hour and 30 minutes before you want to serve your dish, begin cooking your rice. In a large non-stick pot, combine 6 cups of water and 1 tablespoon kosher salt. Bring to a boil over high heat. Drain and add the rice, stir, and cook uncovered until al dente, about 5 minutes.
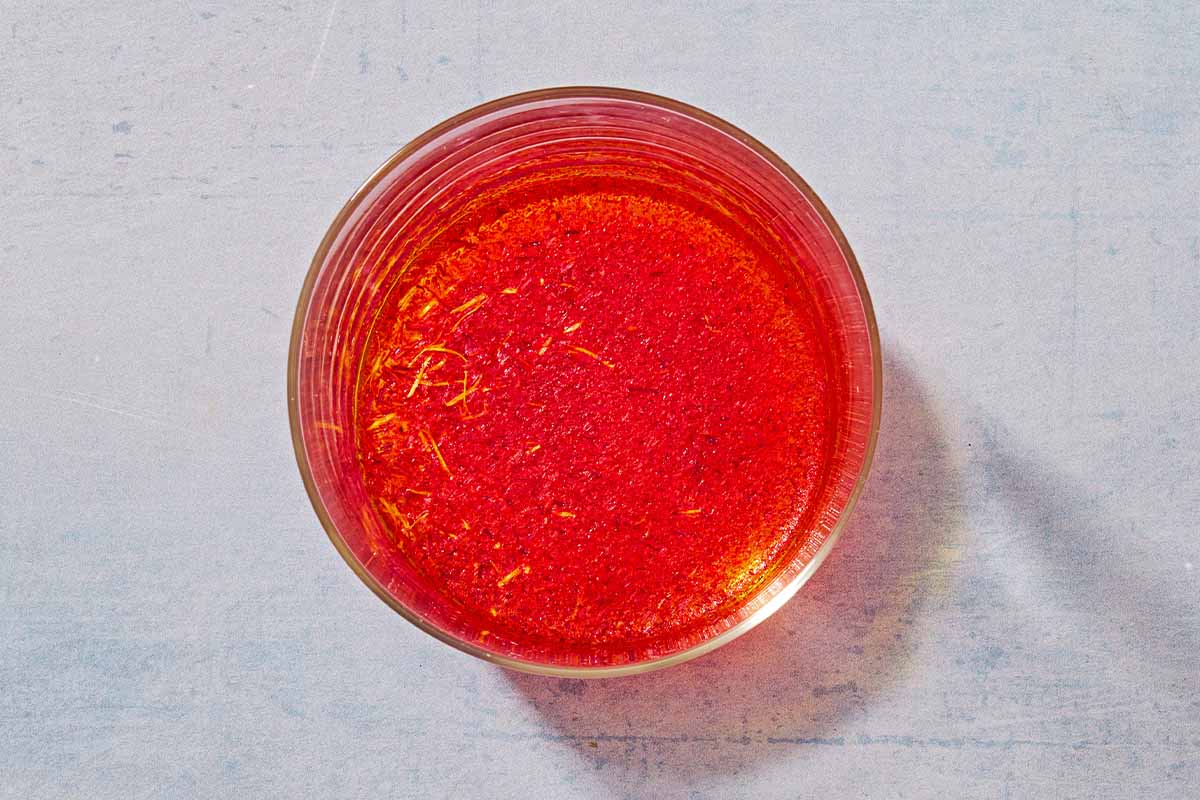
- Bloom the saffron: While the rice boils, add 1/4 teaspoon ground saffron to 1/4 cup water and set aside.
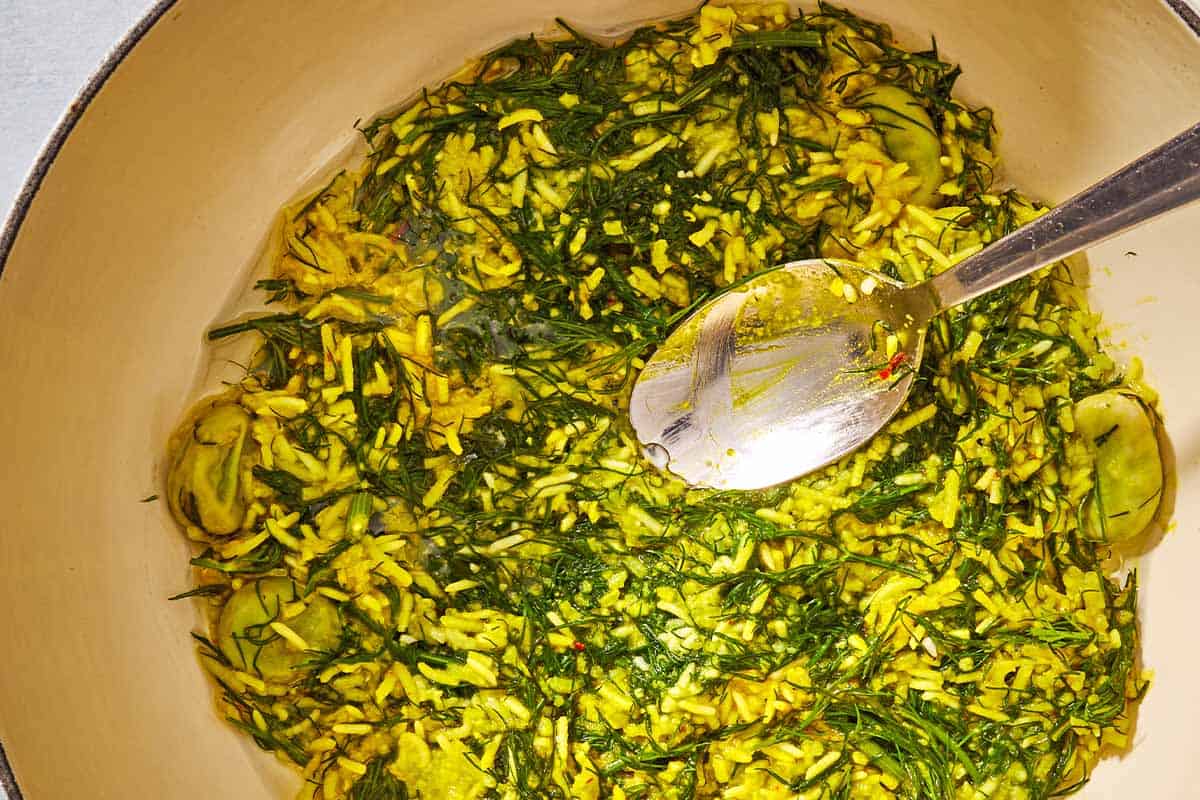
- Stir in fava beans and dill: Add 2 cups (10 ounces) shelled fava beans to the pot of rice, followed by 10 ounces fresh dill, woody ends removed and finely chopped dill. Gently stir into the rice to distribute evenly. Turn the heat off and drain the rice into a colander. Rinse out the pot you cooked the rice in and place on the stove.
Steam the Rice
- Prepare the tahdig: Pour 2 tablespoons vegetable oil into the pot. Do not turn on the heat yet. Into a small bowl, add 2 cups of the cooked rice, dill, and fava bean mixture and 2 tablespoons of bloomed saffron water. Mix until it has turned golden. Add this rice mixture to the bottom of the pot and pat down flat with the back of a spoon.
- Spoon the rest of the rice into the pot: Then, layer by layer, add the remaining rice mixture with a drizzle of extra virgin olive oil on each layer (2 teaspoons total), creating a loose mountain shape peak in the pot. Pour the remaining saffron water over the top of the rice. Poke 5 holes evenly across with the end of the spoon.
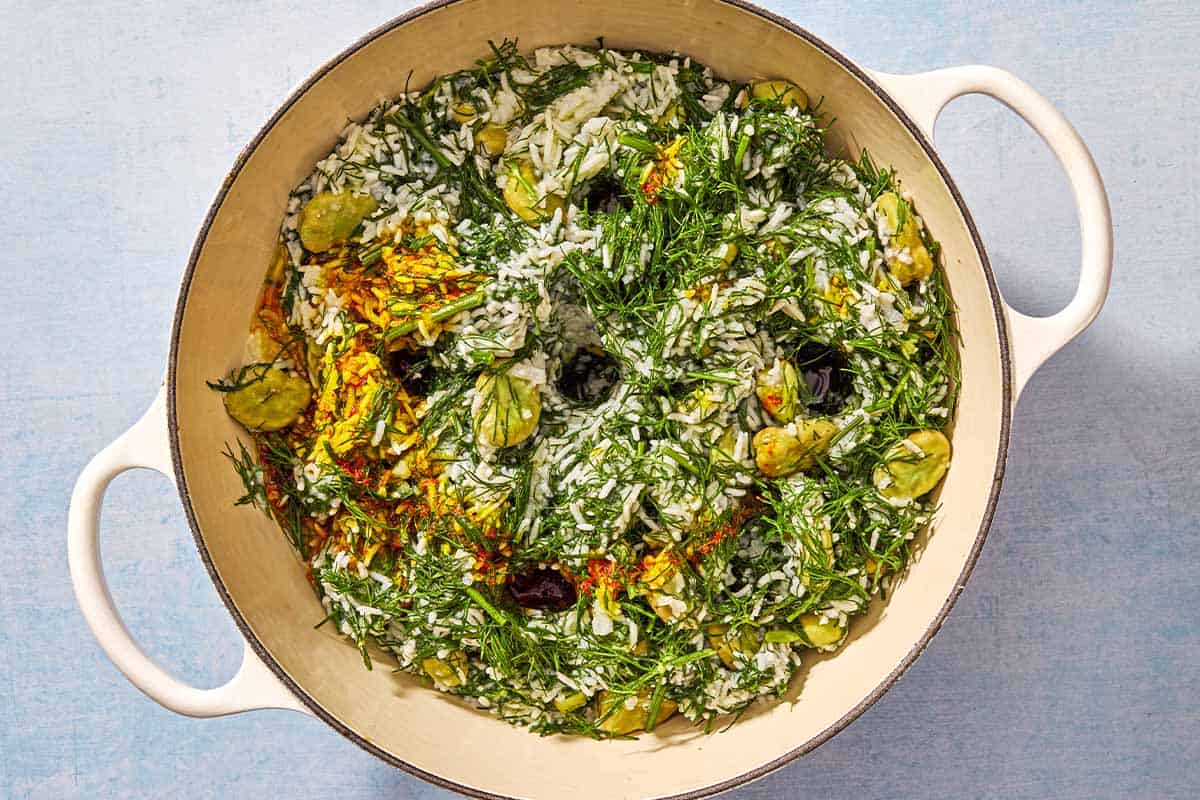
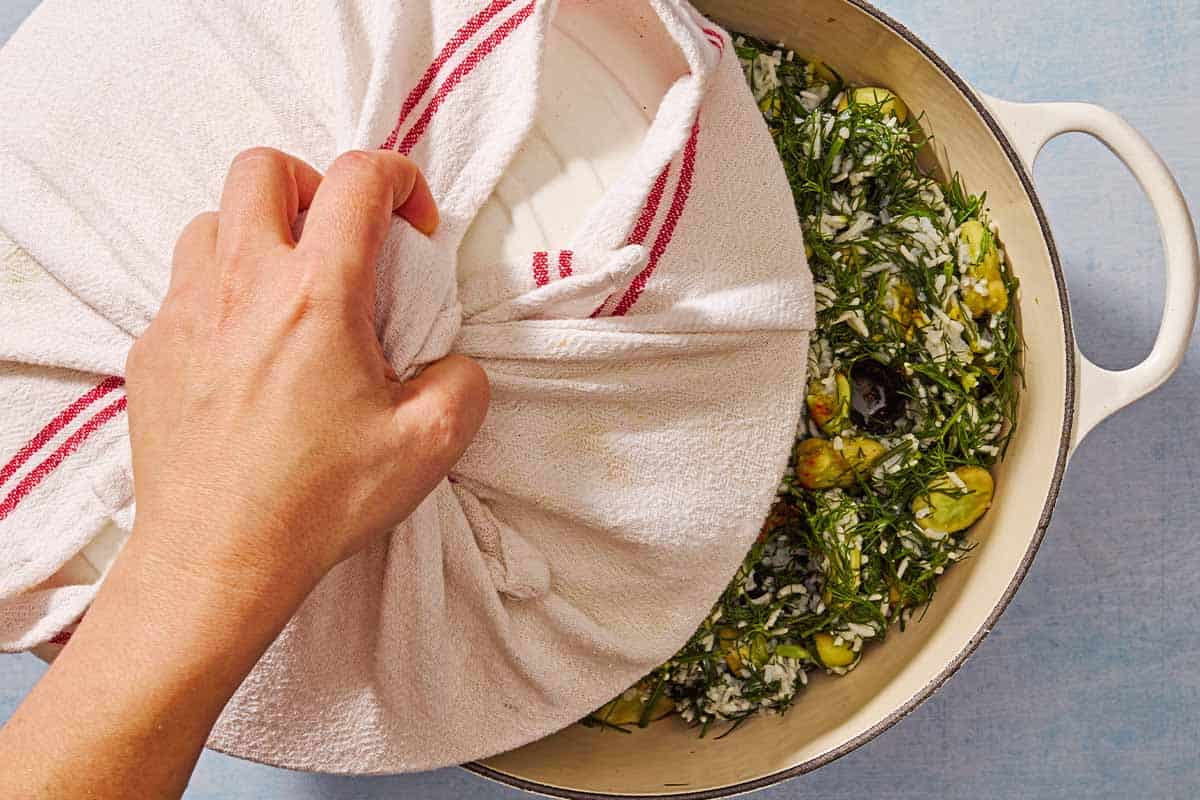
- Steam the rice: Put the lid on the pot and turn the heat to high (you should hear the rice start to crackle). Once steam starts to rise, about 3 minutes, reduce the heat to the lowest setting. Take a tea-towel, wrap it around the lid, and place it back on the pot. Steam for a minimum of 1 hour.
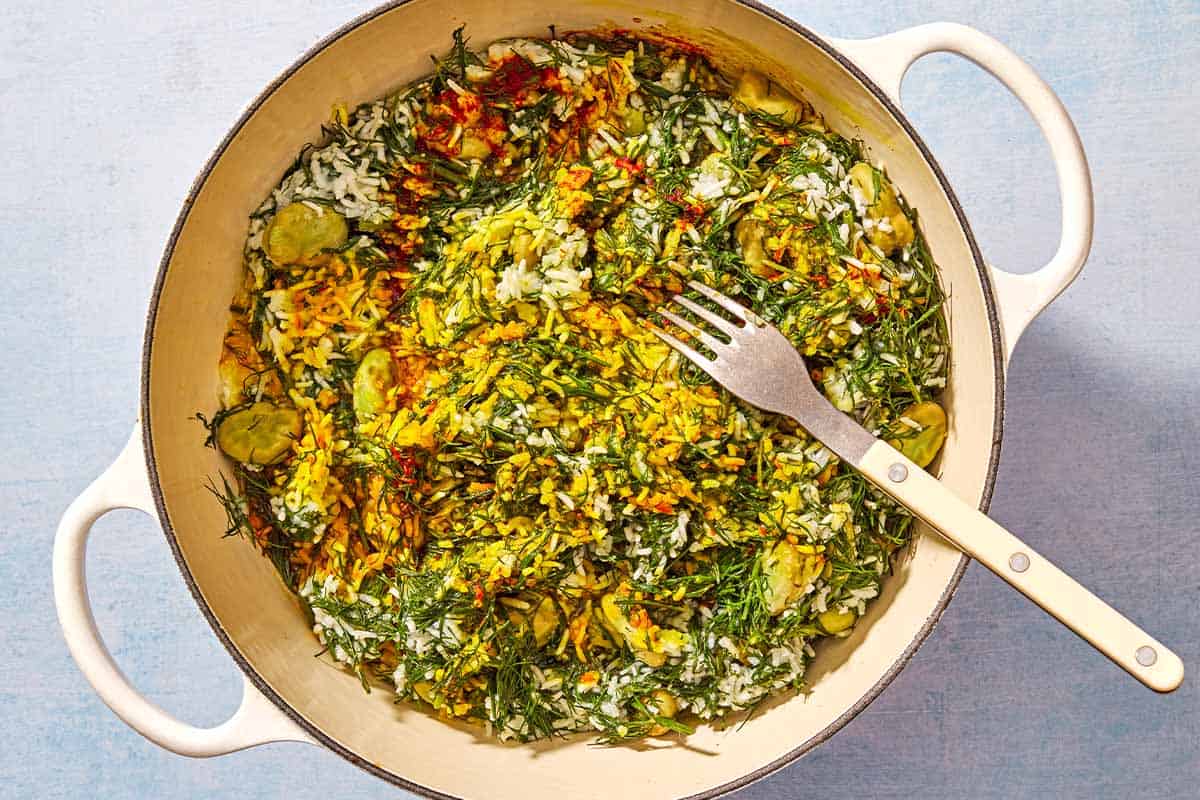
- Finish and serve: Remove the lid. The rice on the bottom of the pot should be crispy, this is called the tahdig, and the rice on the top should be fluffy. Gently fluff the top rice with a fork. Then spoon into a serving dish. Lift the tahdig and serve in a separate dish in one piece or break up and place around the edge of the rice.
What to Serve with Baghali Polo
Baghali Polo is traditionally served with Maniche, Persian Braised Lamb Shanks. Baghali Polo ba Mahiche is pretty much a complete meal with protein, carbs, and vegetables, however, we Persians often serve other side dishes alongside our mains, including salads, pickles, and yogurt.
Salad is always a must with Persian dishes. The acid from the salad dressing adds a fresh zing to complement the myriad of rich flavors.
Shirazi Salad is the traditional and go-to salad Persians serve with their main dishes. Described as the National salad of Iran, this simple salad is made from finely diced tomato, cucumber, and red onion dressed with a zingy citrus dressing. Alternatively, any green salad of your choice with a lemon or lime-based dressing will match perfectly.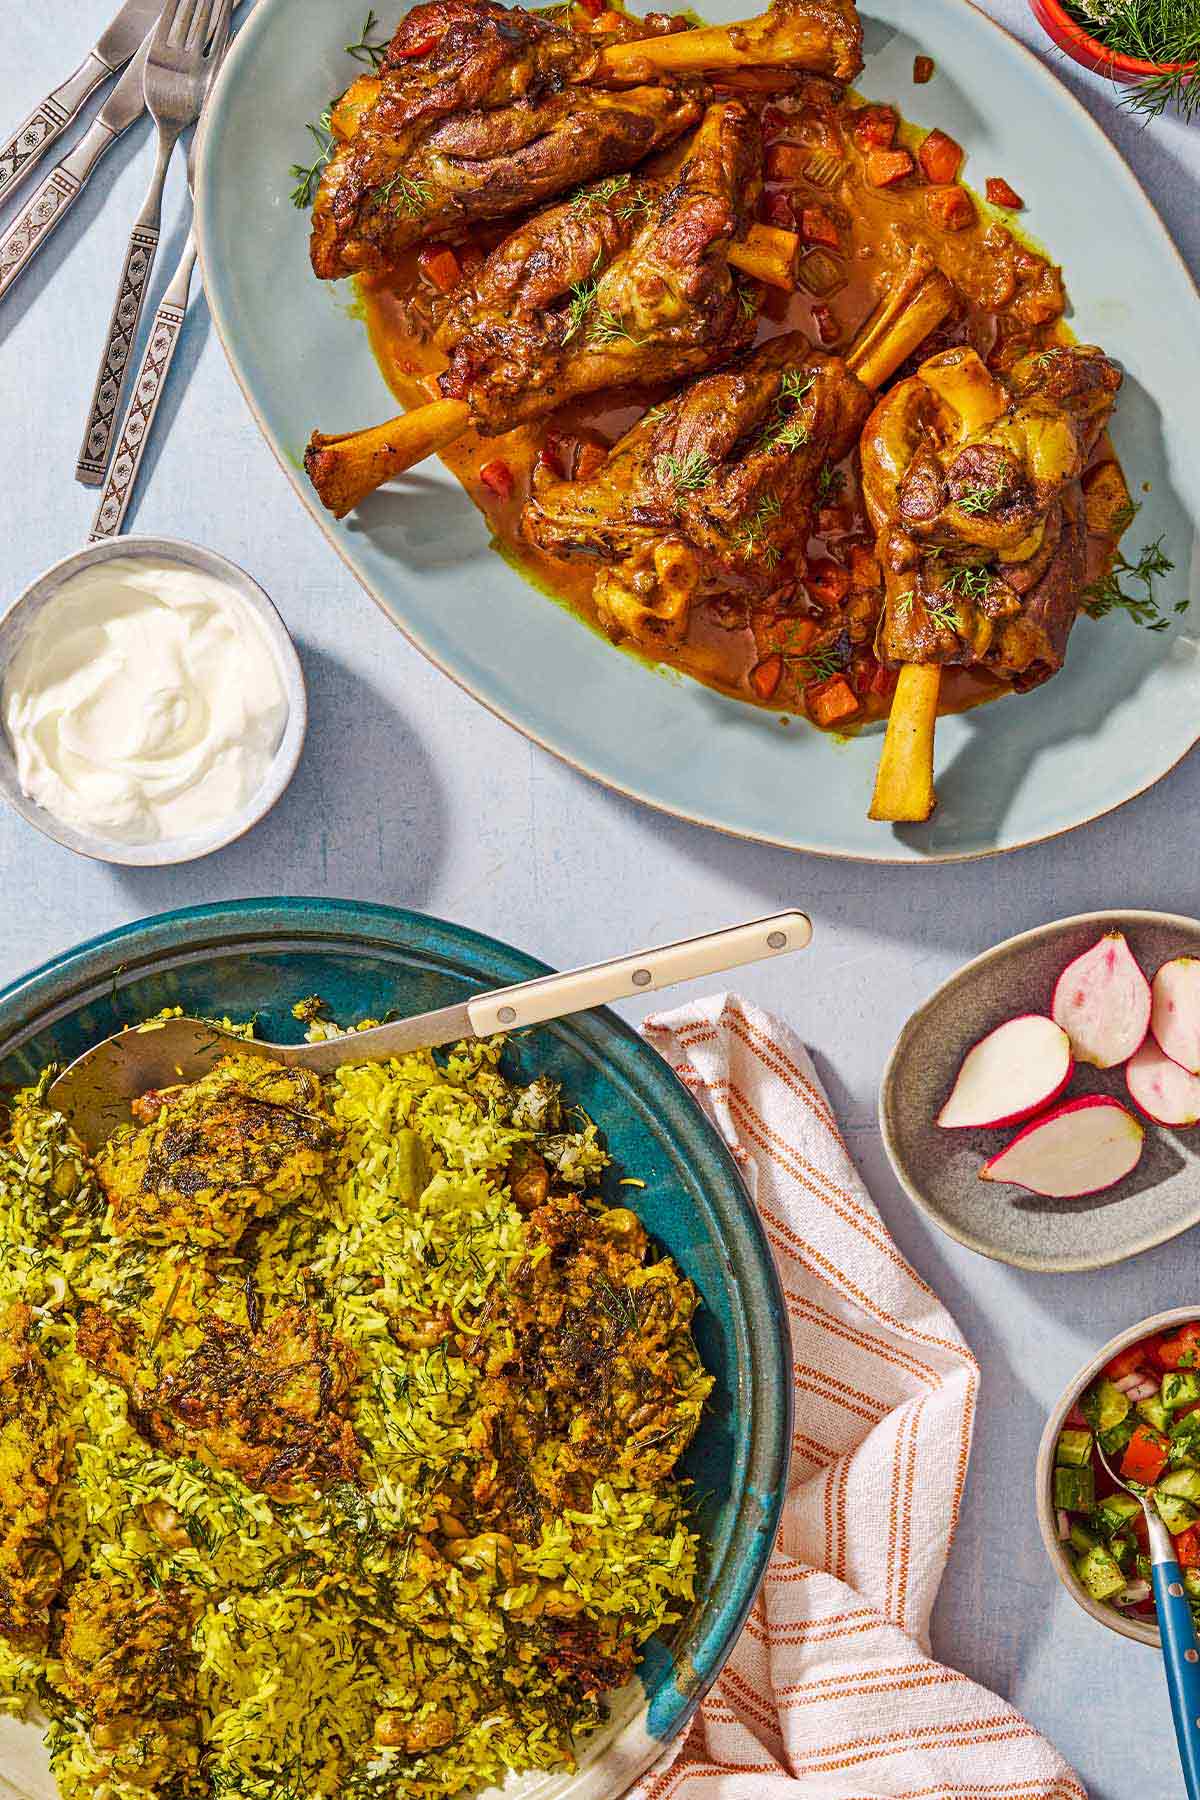
How to Store Baghali Polo
You can store this leftover dill rice in the fridge for up to 5 days if stored in airtight containers.
You can alternatively freeze leftovers. Allow it to cool completely, then transfer to freezer bags or containers. It will last for up to 3 months in the freezer.
To reheat the rice, splash a little water over it and cook on low heat on the stove. You can also reheat in the microwave using the appropriate microwave dish. To reheat the tahdig, crisp it up in a hot oven or an air fryer for about 5 minutes.
More Persian Recipes with Rice
Browse all Mediterranean recipes.
Visit Our Shop.
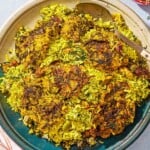
Baghali Polo (Persian Dill and Fava Bean Rice)
Baghali Polo is a Persian saffron dill rice pilaf with a layer of crispy tahdig and dotted with fava beans.Servings 8Calories 269.7kcalIngredients
- 2 cups basmati rice
- 1 tablespoon kosher salt
- 1/4 teaspoon ground saffron, from about 1/2 teaspoon saffron threads
- 2 cups shelled fava beans, (10 ounces)
- 10 ounces fresh dill, woody ends removed and finely chopped
- 2 tablespoons vegetable oil
- 2 teaspoons extra virgin olive oil
Instructions
- Rinse and soak the rice. Rinse the rice with cold water in a fine mesh sieve until the water runs clear. Place in a bowl and cover with cold water with two inches clear above the rice. Leave to soak for a minimum of 1 hour, preferably overnight.
- Parboil the rice. Approximately 1 hour and 30 minutes before you want to serve your dish, begin cooking your rice. In a large non-stick pot, combine 6 cups of water and salt. Bring to a boil over high heat. Drain and add the rice, stir, and cook uncovered until al dente, about 5 minutes.
- Bloom the saffron. While the rice boils, add the saffron to a ¼ cup water and set aside.
- Stir in fava beans and dill. Add fava beans to the pot of rice, followed by the dill. Gently stir into the rice to distribute evenly. Turn the heat off and drain the rice into a colander. Rinse out the pot you cooked the rice in and place on the stove.
- Prepare the tahdig. Pour vegetable oil into the pot. Do not turn on the heat yet. Into a small bowl, add 2 cups of the cooked rice, dill, and fava bean mixture and 2 tablespoons of bloomed saffron water. Mix until it has turned golden. Add this rice mixture to the bottom of the pot and pat down flat with the back of a spoon.
- Spoon the rest of the rice into the pot. Then, layer by layer, add the remaining rice mixture with a drizzle of olive oil on each layer, creating a loose mountain shape peak in the pot. Pour the remaining saffron water over the top of the rice. Poke 5 holes evenly across with the end of the spoon.
- Steam the rice. Put the lid on the pot and turn the heat to high (you should hear the rice start to crackle). Once steam starts to rise, about 3 minutes, reduce heat to the lowest setting. Take a tea-towel, wrap it around the lid, and place it back on the pot. Steam for a minimum of 1 hour.
- Finish and serve. Remove the lid. The rice on the bottom of the pot should be crispy, this is called the tahdig, and the rice on the top should be fluffy. Gently fluff the top rice with a fork. Then spoon into a serving dish. Lift the tahdig and serve in a separate dish in one piece or break up and place around the edge of the rice.
Notes
- Shop this recipe: Visit our shop to browse quality Mediterranean ingredients including the saffron and olive oil used in this recipe.
- How to Store Baghali Polo: You can store leftover Baghali Polo in a fridge for up to 5 days if stored in airtight containers. Allow it to cool before placing it in the fridge. You can alternatively freeze leftovers. Allow it to cool completely, then transfer to freezer bags or containers. It will last for up to 3 months in the freezer.
- To Reheat Baghali Polo: splash a little water over it and cook on low heat on the stove. You can also reheat in the microwave using the appropriate microwave dish. To reheat the tahdig, crisp it up in a hot oven or an air fryer for about 5 minutes.
Nutrition
Calories: 269.7kcal | Carbohydrates: 47.8g | Protein: 7.8g | Fat: 5.3g | Saturated Fat: 0.8g | Polyunsaturated Fat: 2.2g | Monounsaturated Fat: 1.9g | Trans Fat: 0.02g | Sodium: 898.1mg | Potassium: 428.9mg | Fiber: 3.6g | Sugar: 0.8g | Vitamin A: 2741.4IU | Vitamin C: 30.3mg | Calcium: 102.5mg | Iron: 3.4mgBundle and Save!
Get the flavor party essentials to start your Mediterranean Diet Journey today!

The post Baghali Polo (Persian Dill and Fava Bean Rice) appeared first on The Mediterranean Dish.
- Air Fryer Shrimp
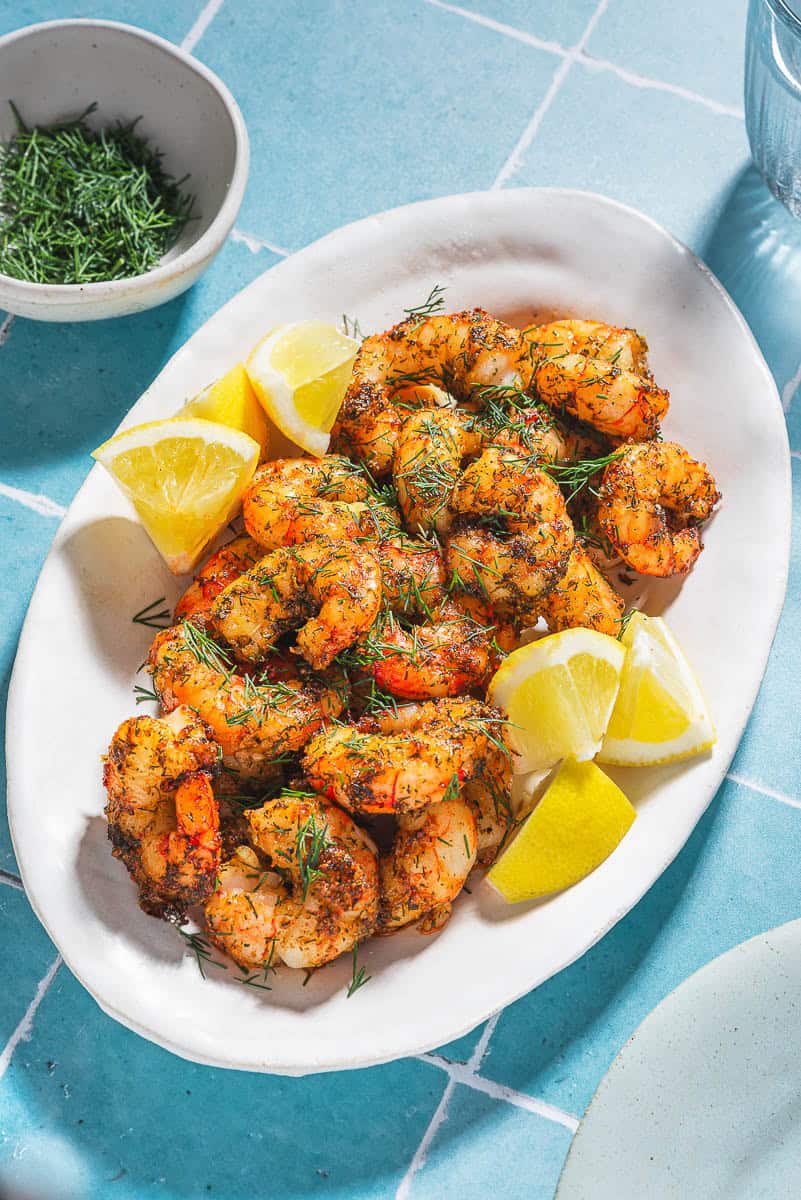
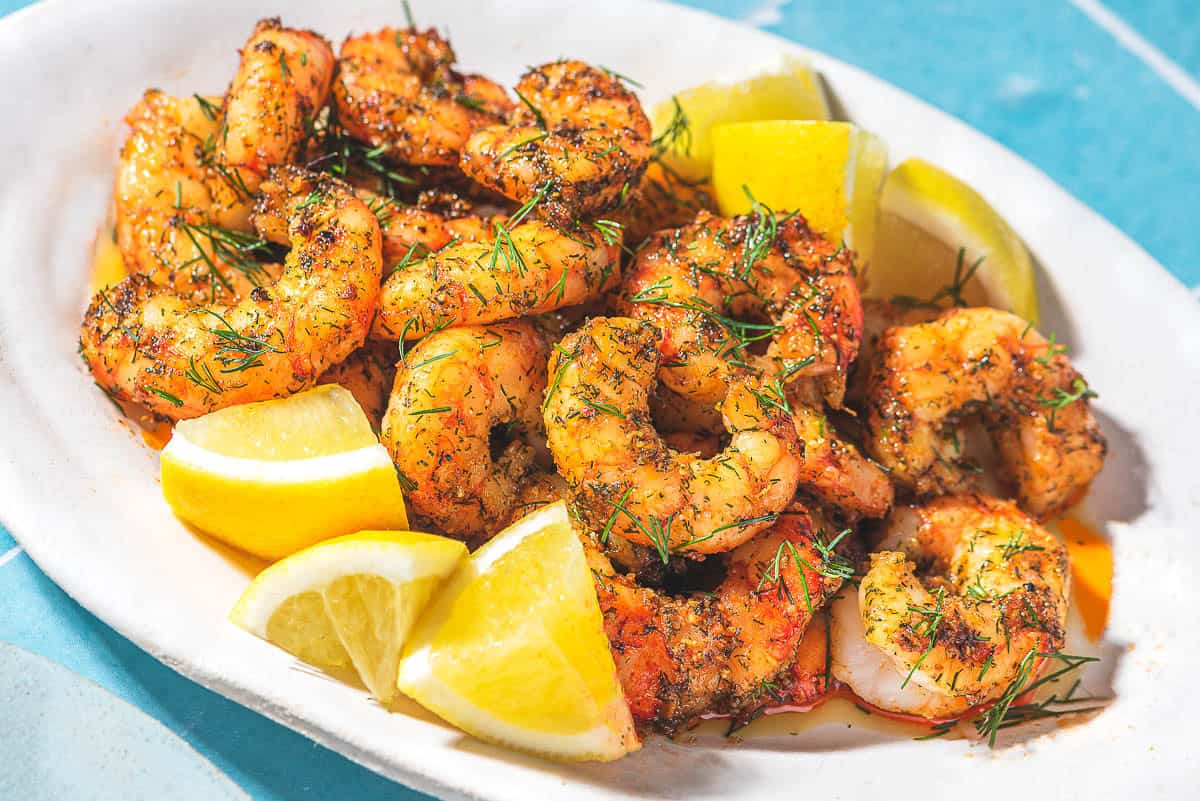
Juicy and perfectly seasoned, Air Fryer Shrimp are a quick appetizer or effortless salad topper. Glossed with olive oil and coated in lemon zest, dill, and paprika, they cook up tender and lightly browned in minutes.
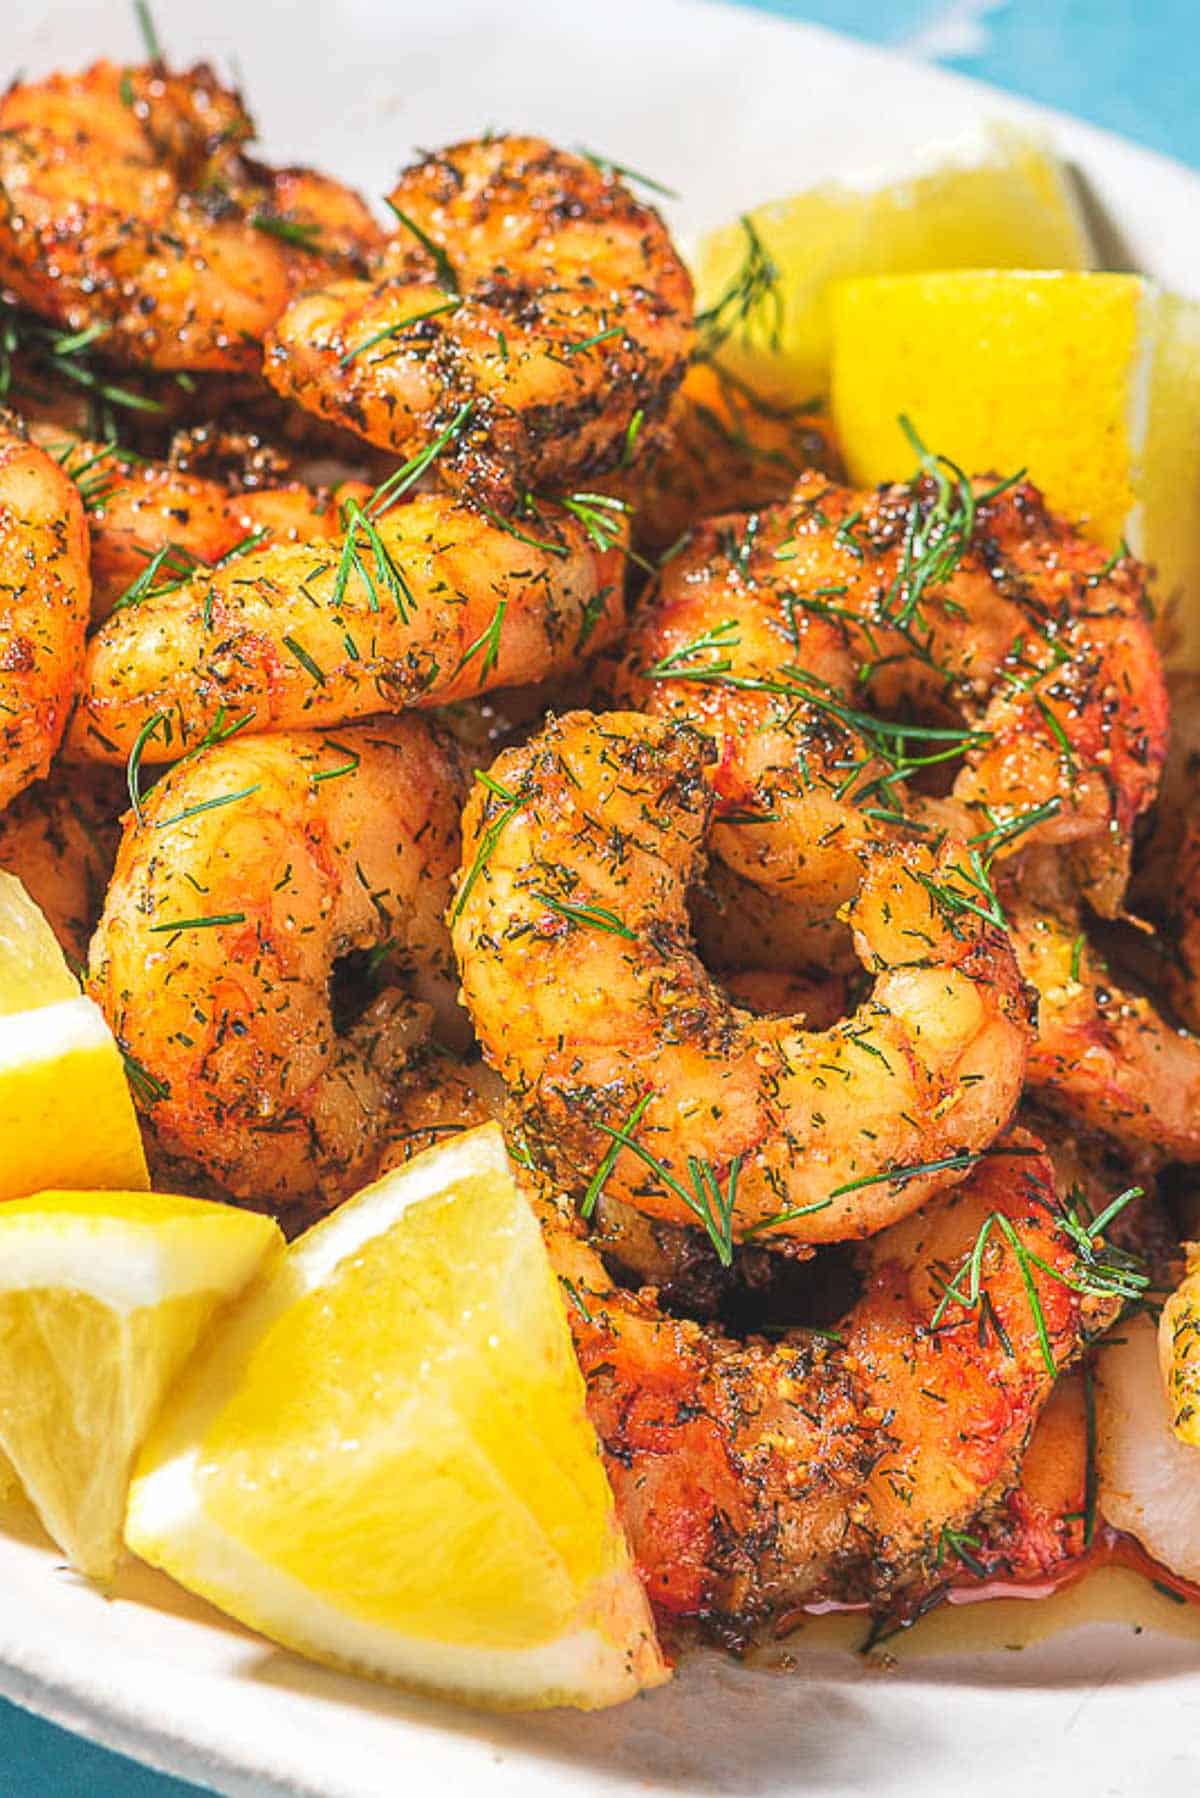
Photo Credits: Miriam Novoa This air fryer shrimp recipe is my new favorite way to dress up a salad or round out a pasta dinner. I, like many of you I’m sure, first got an air fryer envisioning crunchy falafel, mess-free chicken wings, and other snacky bits. The biggest surprise is that it has become among my favorite tools for cooking seafood, especially on weeknights when I’m multitasking to get dinner together quickly.
The circulation of hot air inside an air fryer is surprisingly good at cooking delicate shrimp. At a high temperature setting, you can get browning just as nice as the direct heat of a frying pan, and the results are more even.
This is the kind of recipe that works well as a supporting player or a standalone appetizer. Serve the shrimp hot, straight from the air fryer, with a squeeze of lemon, or add them onto salads, grain bowls, or pastas.
Just as with my Air Fryer Salmon recipe, a key to achieving good color on the shrimp is avoiding moisture so there’s no marinating required. Just grab a few spice cabinet staples and they’re ready to go!
Table of Contents
Ingredients for Air Fryer Shrimp
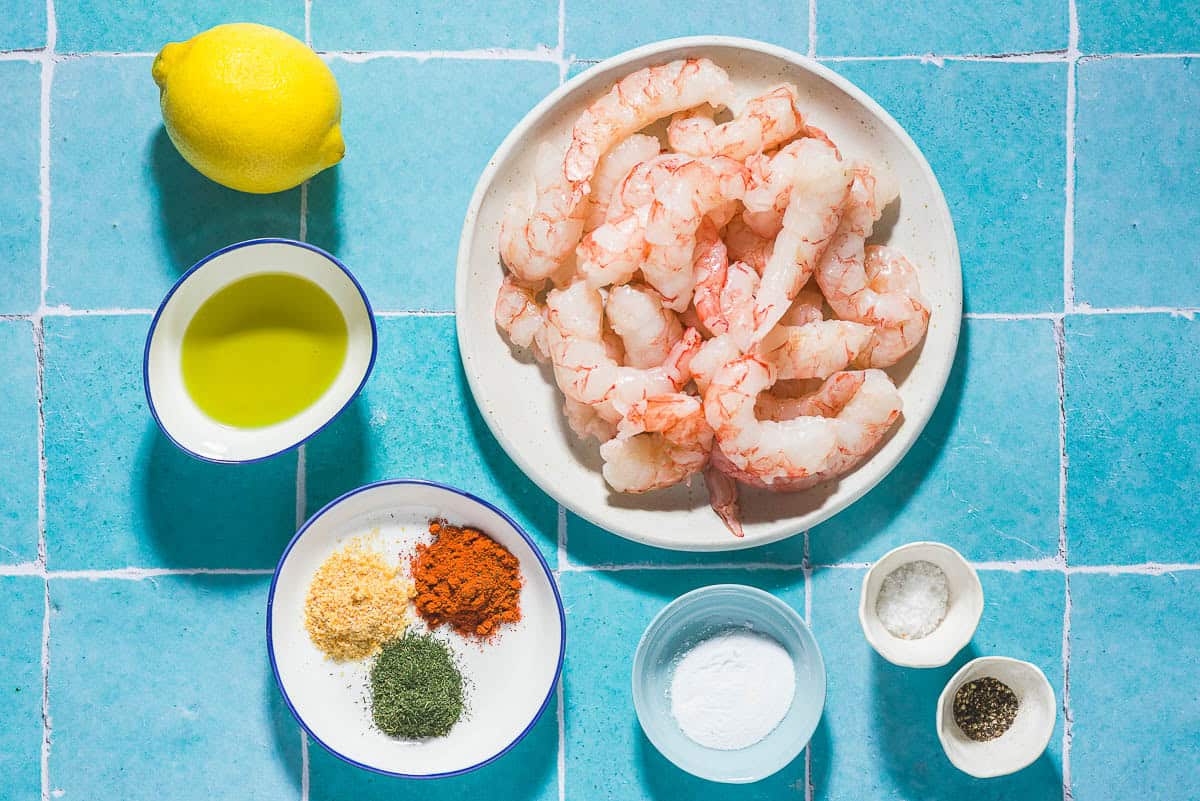
A short list of pantry staples transforms frozen shrimp into something special. Here’s what you’ll need to make this quick, flavorful dish.
- Shrimp: One key factor in this recipe is that the shrimp must be large. Smaller shrimp will overcook too quickly. I recommend using extra jumbo shrimp (16-20 per pound). Start with whole, frozen shrimp, defrosted in the refrigerator overnight, then peeled and deveined. If you plan to serve them as an appetizer, leave the tails on. If you’re adding them to a dish you’ll eat with utensils, remove the tails before cooking.
- Extra virgin olive oil helps the spices stick so the air fryer fan doesn’t blow them off. And yes, it’s safe to cook with extra virgin olive oil at high temperatures and in the air fryer. Read more in our full guide to Cooking With Olive Oil.
- Lemon zest adds brightness and a citrusy aroma that complements the flavor of the shrimp without adding moisture, which inhibits browning, or acid, which can make the shrimp mushy.
- Dill weed, aka dried dill, adds a mild, grassy flavor that pairs beautifully with seafood. This is a rare case where I prefer dried over fresh because it sticks well to the shrimp and it avoids adding moisture. If you have fresh dill, a finishing sprinkle on the cooked shrimp is also nice!
- Paprika gives the shrimp an appealing orange color. You can use either sweet or smoked, either will work. More on this versatile pepper powder below!
- Garlic powder: Minced garlic can burn quickly in an air fryer, so I prefer garlic powder to add that savory, sharp flavor.
- Kosher salt boosts the flavor of the spices and the shrimp.
- Freshly ground black pepper gives the wet rub for the shrimp a pleasant warmth.
- Baking soda (optional) might seem like a strange addition to a seafood recipe, but adding a tiny bit to the shrimp increases the pH, which helps them stay plump and juicy as they cook. You can skip it if you like.
Ingredient Spotlight
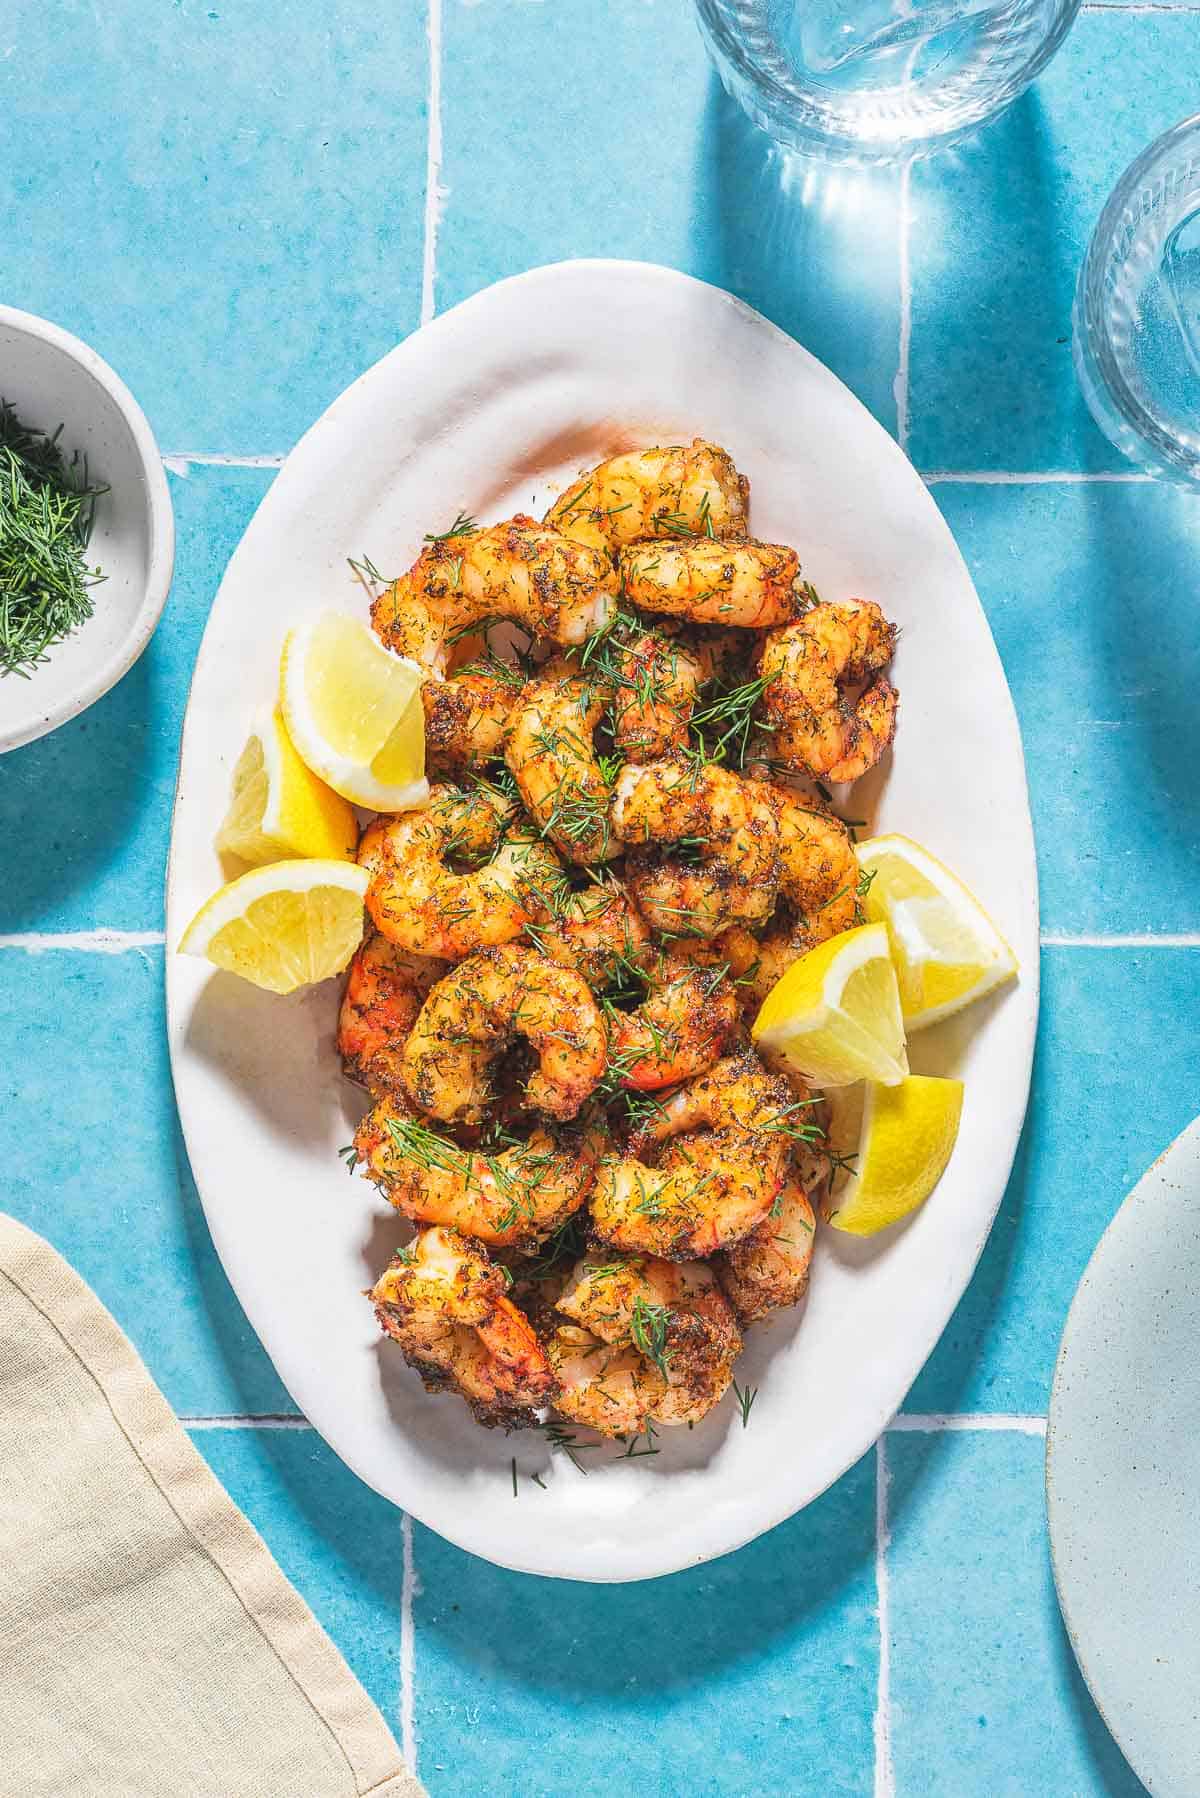
Made from dried and ground red chili peppers, Spanish paprika is one of our go-to Mediterranean peppers. It adds rich red-orange color and depth to anything it touches. Sweet paprika has a mild red pepper sweetness, while smoked paprika gives the shrimp a subtle, smoky depth. Either works in this recipe—your call which to use!
- TRY IT: Sweet Spanish Paprika or Smoked Spanish Paprika
- BEST SUBSTITUTE: If you’re out of Spanish paprika, try Hungarian paprika for color, or swap smoked paprika with a touch of chipotle or chili powder for a similar smoky kick.
How to Make Air Fryer Shrimp
You don’t need to plan marinating time to make this air fryer shrimp recipe. Just a few moments while your air fryer preheats is enough! Here’s the whole process:
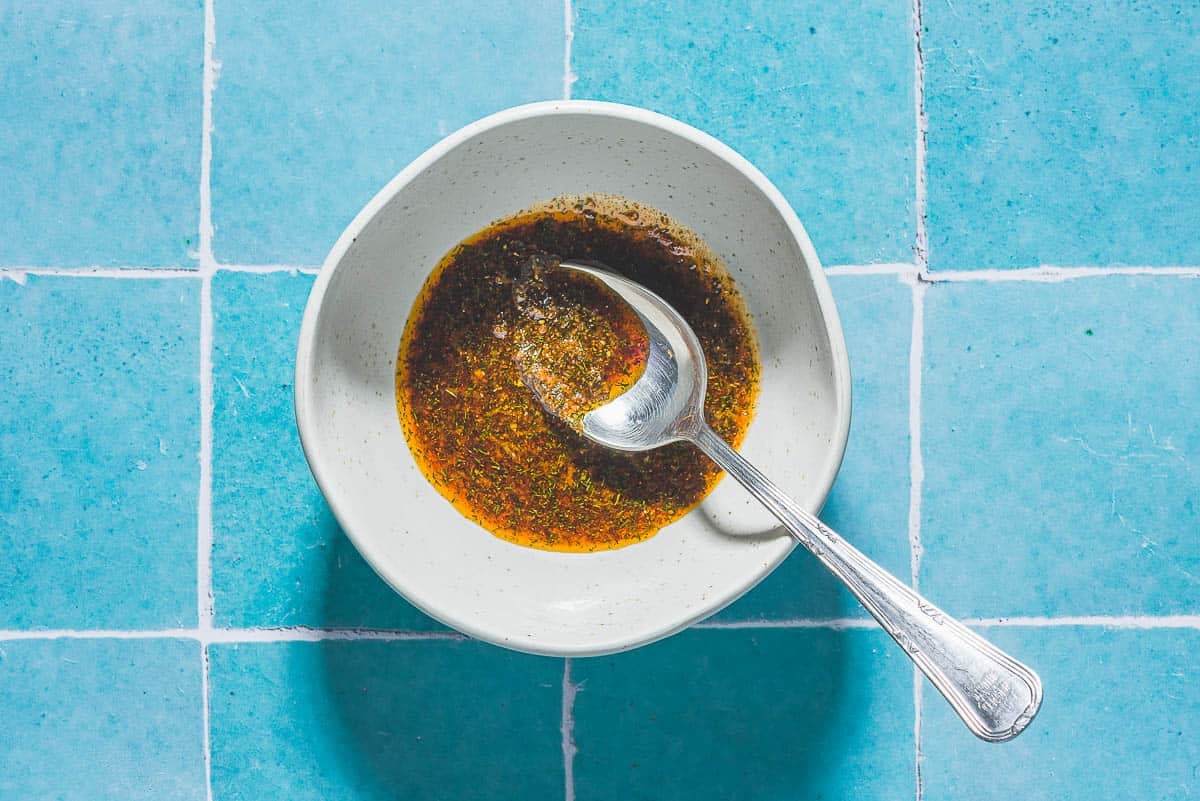
- Mix the wet rub. In a large bowl combine 2 tablespoons extra virgin olive oil, the zest of 1 lemon, 1 teaspoon dill weed, 1 teaspoon sweet or smoked Spanish paprika, 1 teaspoon garlic powder, and a big pinch each of salt and freshly ground black pepper. Add 1/4 teaspoon baking soda, if using. Whisk to combine.
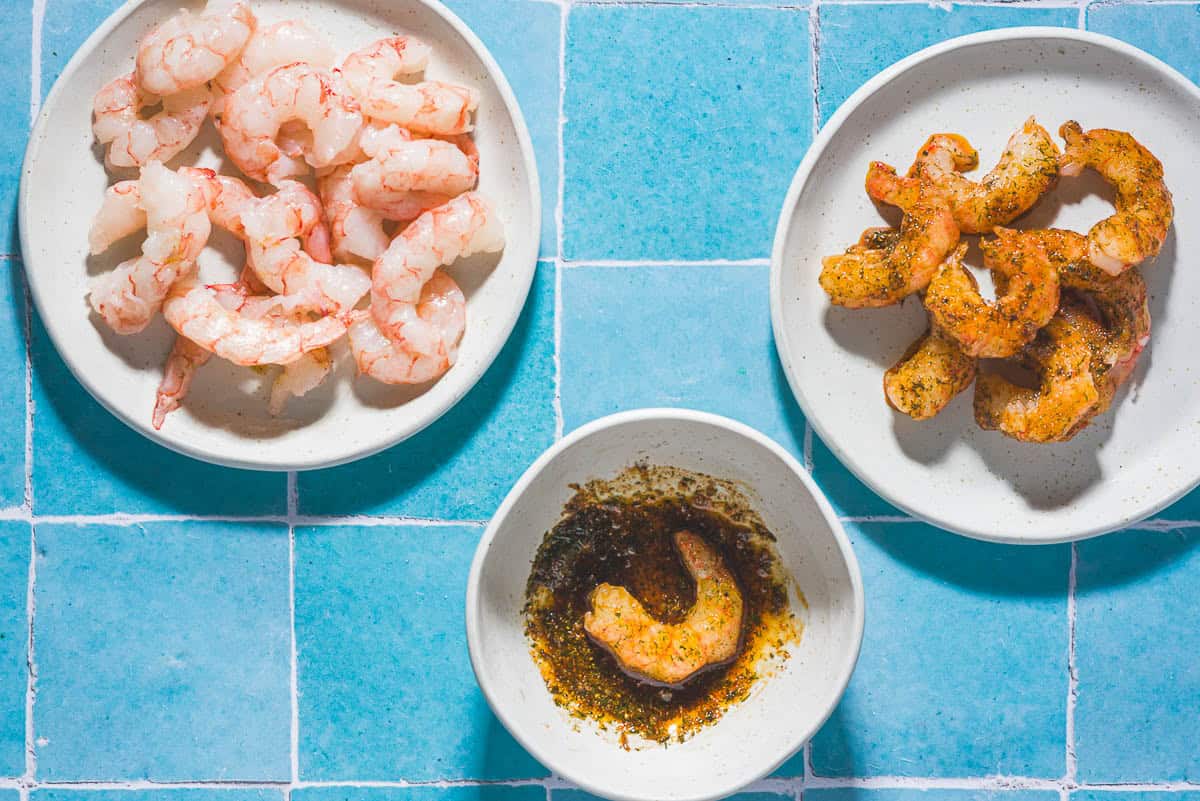
- Prep the shrimp. Peel and devein 2 pounds raw extra jumbo (16-20) shrimp, and pat them dry. Add them to the olive oil mixture, turning to completely coat them.
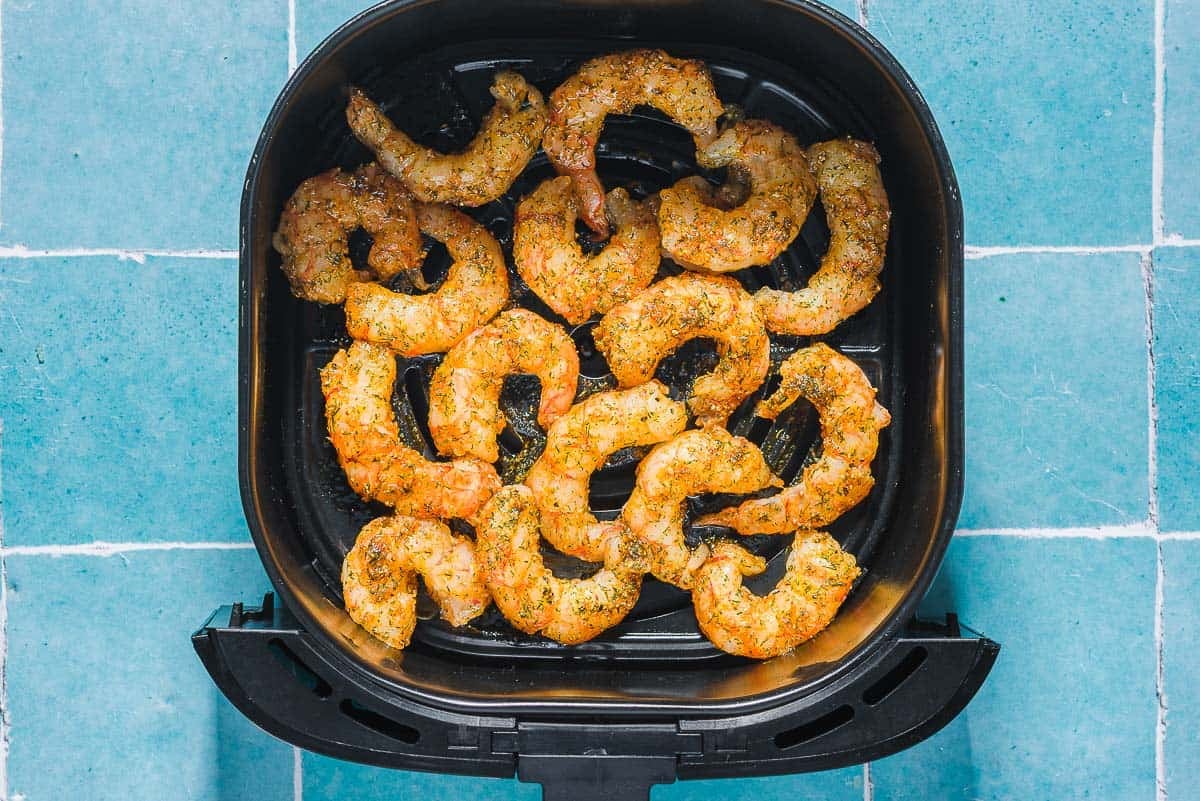
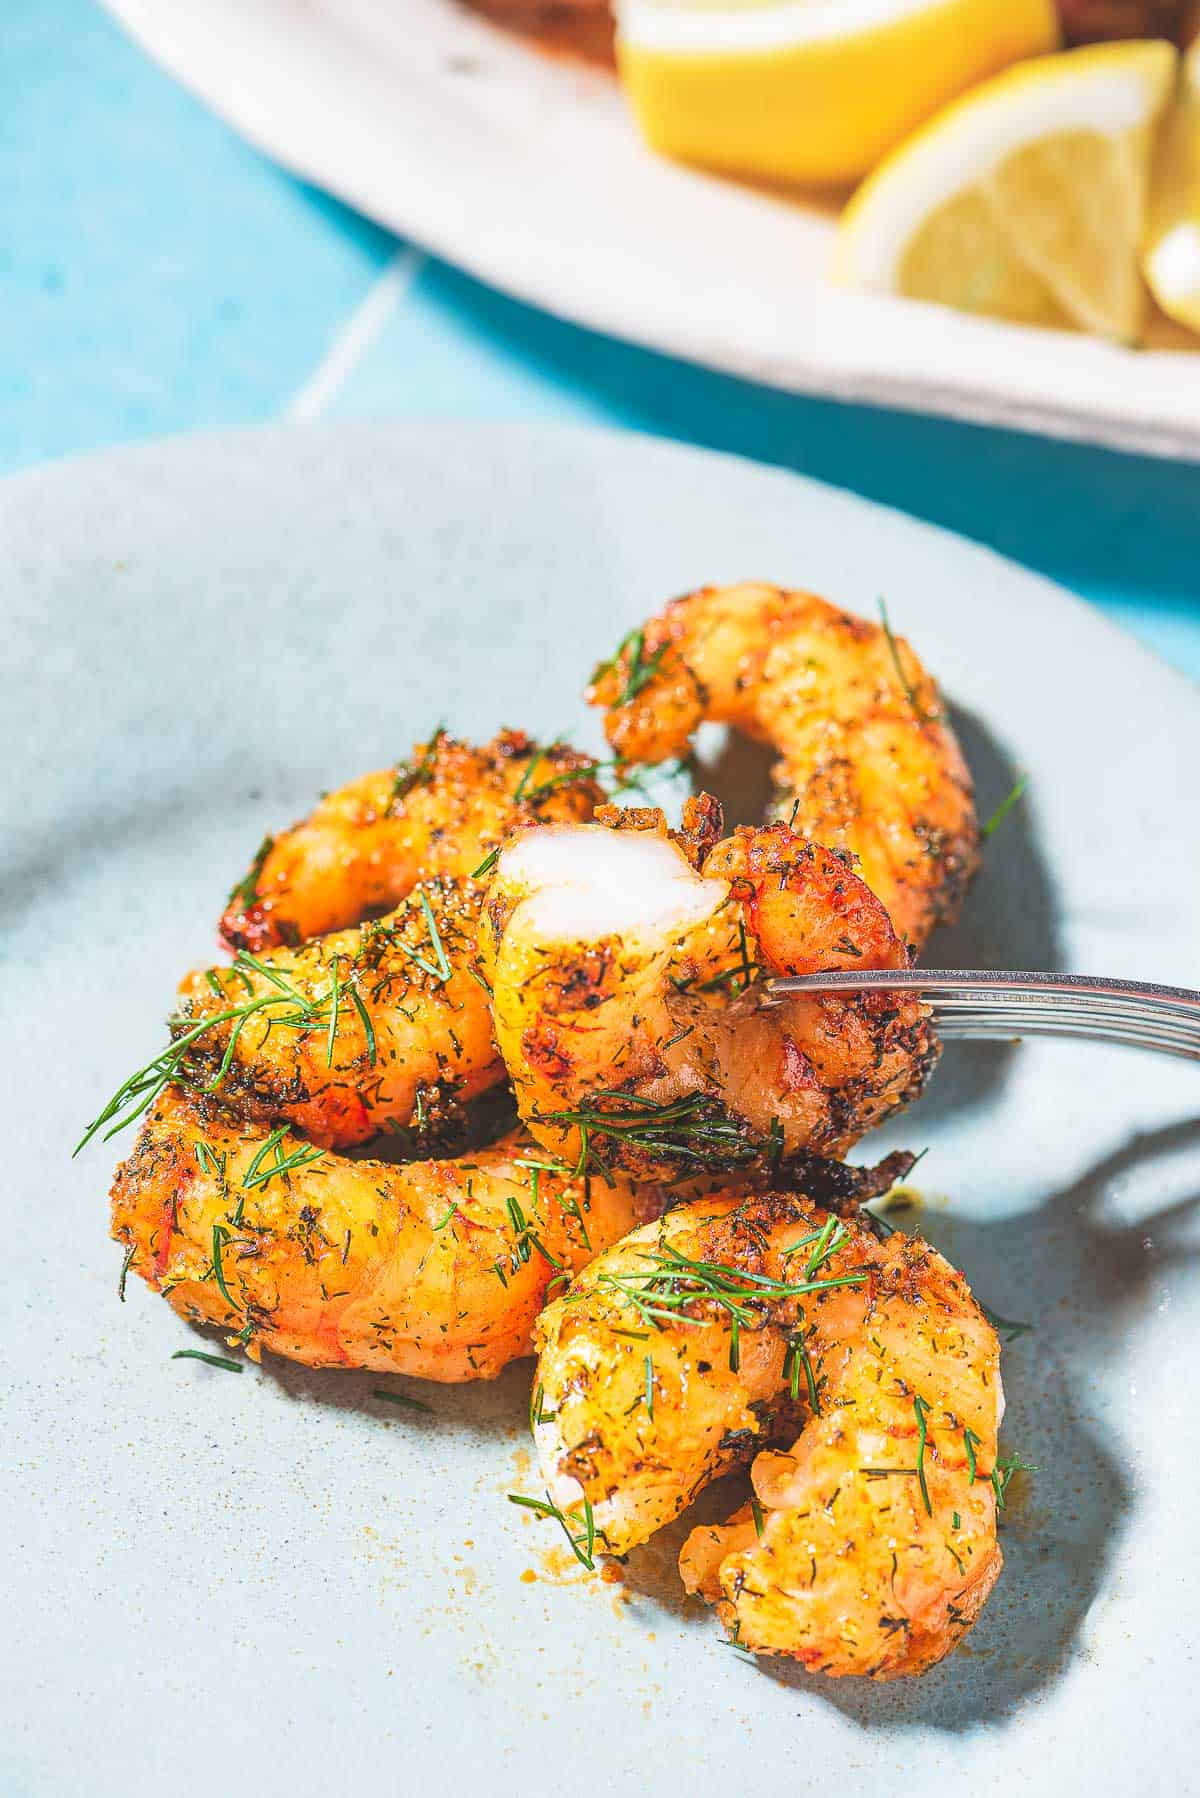
- Air fry the shrimp. Preheat the air fryer to 400°F. Transfer the shrimp to the air fryer basket, leaving a little space between each one. Air fry the shrimp until they are pink throughout, curled, and beginning to brown at the edges, 5 to 6 minutes.
- Serve. While the shrimp cooks, cut the lemon into wedges. Serve the air-fried shrimp with the lemon wedges for squeezing and chopped fresh dill, if you like.
How Long to Cook Shrimp in an Air Fryer?
Even extra jumbo shrimp (16-20 per pound) take only 5 to 6 minutes to cook in a 400°F air fryer, which is why it’s important to choose large shrimp for this recipe to ensure they stay juicy inside even as they begin to brown.
Make It Your Own
This air fryer shrimp recipe is hugely versatile. In fact, you could change up the herbs and spices entirely and just follow this recipe as guidelines for the cook time and temperature. Here are a few ideas for how to change it up.
- Dry brine the shrimp: If you have time, toss the raw, peeled shrimp in the baking soda and salt. Let them brine for about 10 or 15 minutes before adding the olive oil and spices. This extra brining time will increase the impact of the baking soda, resulting in shrimp with an even juicier, snappier texture.
- Add some heat: Add a pinch of cayenne pepper to the seasoning mix for a more pronounced warmth.
- Swap the citrus: Swap the lemon zest for lime or orange zest to change up the flavor profile.
- Try a different herb: Replace dill with dried Greek oregano, thyme, basil or Italian Seasoning for a different aromatic touch.
- Add a crispy coating: Toss the shrimp in a light dusting of cornstarch before air frying for an extra-crispy exterior.
- Swap the spices: Replace the paprika with smoky ground cumin, a spice blend like ras el hanout, or any other spice that lines up with the dishes you plan to serve with the shrimp.
What to Serve with Air Fryer Shrimp
Air fryer shrimp are great on top of a salad, mixed into pasta, or served with rice pilaf and sautéed vegetables for a well-rounded meal. While developing this recipe, my family loved them with Lemon Pasta and Blanched Asparagus and also atop Classic Caesar Salad. I think they’d also make an excellent addition to a brown rice bowl.
If I’m serving them on their own as an appetizer, they make a great match for garlic aioli for dipping. For sipping, add a nice cold Aperol Spritz. Bright, bubbly, and just the right amount of bitter, it’s the perfect citrusy drink alongside the crispy shrimp.
Because Air Fryer Shrimp cook so quickly, I recommend having the rest of your meal prepared before adding them to the air fryer so they don’t get cold!
More Fast Shrimp Dinner Ideas
Browse all Mediterranean recipes.
Visit Our Shop.
Air Fryer Shrimp
Juicy and perfectly seasoned, Air Fryer Shrimp are a quick appetizer or effortless salad topper. Glossed with olive oil and coated in lemon zest, dill, and paprika, they cook up tender and lightly browned in minutes.Servings 4Calories 234.6kcalIngredients
- 2 tablespoons extra virgin olive oil
- 1 teaspoon dill weed
- 1 teaspoon paprika or smoked paprika
- 1 teaspoon garlic powder
- Kosher salt
- Freshly ground black pepper
- 1/4 teaspoon baking soda (optional)
- 1 lemon, zested and cut into wedges
- 2 pounds raw extra jumbo shrimp (16-20), peeled and deveined
- Chopped fresh dill (optional)
Instructions
- Mix the marinade. In a large bowl combine olive oil, dill weed, paprika, garlic powder, and a big pinch each of salt and pepper. Add baking soda, if using, along with the lemon zest (save the wedges for later). Whisk to combine.
- Prep the shrimp. Pat the shrimp dry. Add them to the olive oil mixture, turning to completely coat each one.
- Air fry the shrimp. Preheat the air fryer to 400°F. Transfer the shrimp to the air fryer basket, leaving a little space between each one. Air fry the shrimp until they are pink throughout, curled, and beginning to brown at the edges, 5 to 6 minutes. Serve with lemon wedges and chopped fresh dill, if you like.
Notes
- Shop this recipe: Visit our shop to browse quality Mediterranean ingredients including the olive oil, paprika, and smoked paprika used in this recipe.
- What size shrimp? One key factor in this recipe is that the shrimp must be on the larger side. Smaller shrimp will overcook too quickly. I recommend using extra jumbo shrimp (16-20 per pound), for this recipe as they stay juicy inside even as they begin to brown.
- Tails On or Off: If you plan to serve air fryer shrimp as an appetizer, leave the tails on when shelling and deveining them. If you’re adding them to a dish you’ll eat with utensils, I recommend removing the tails when the shrimp are still raw.
Nutrition
Calories: 234.6kcal | Carbohydrates: 5.4g | Protein: 31.4g | Fat: 9.4g | Saturated Fat: 1.2g | Polyunsaturated Fat: 1.1g | Monounsaturated Fat: 5.3g | Trans Fat: 0.02g | Cholesterol: 285.8mg | Sodium: 1353.6mg | Potassium: 314.1mg | Fiber: 1g | Sugar: 0.7g | Vitamin A: 662.4IU | Vitamin C: 14.3mg | Calcium: 131.3mg | Iron: 0.8mgBundle and Save!
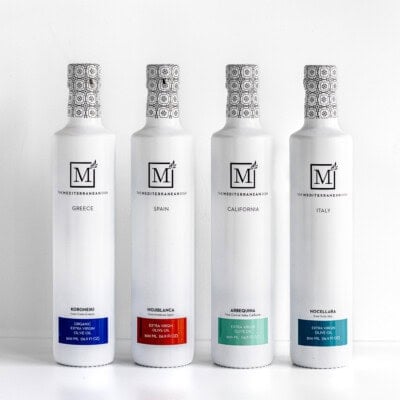
Four of our best-selling signature olive oils, perfect for everyday use.
The post Air Fryer Shrimp appeared first on The Mediterranean Dish.
Website/Blog

